
How to sow and grow winter peas
Peas in the winter? Well that may be asking too much. But these plants provide delicious fresh pea shoots during the coldest months. So you can keep enjoying your Planty Garden all year long.
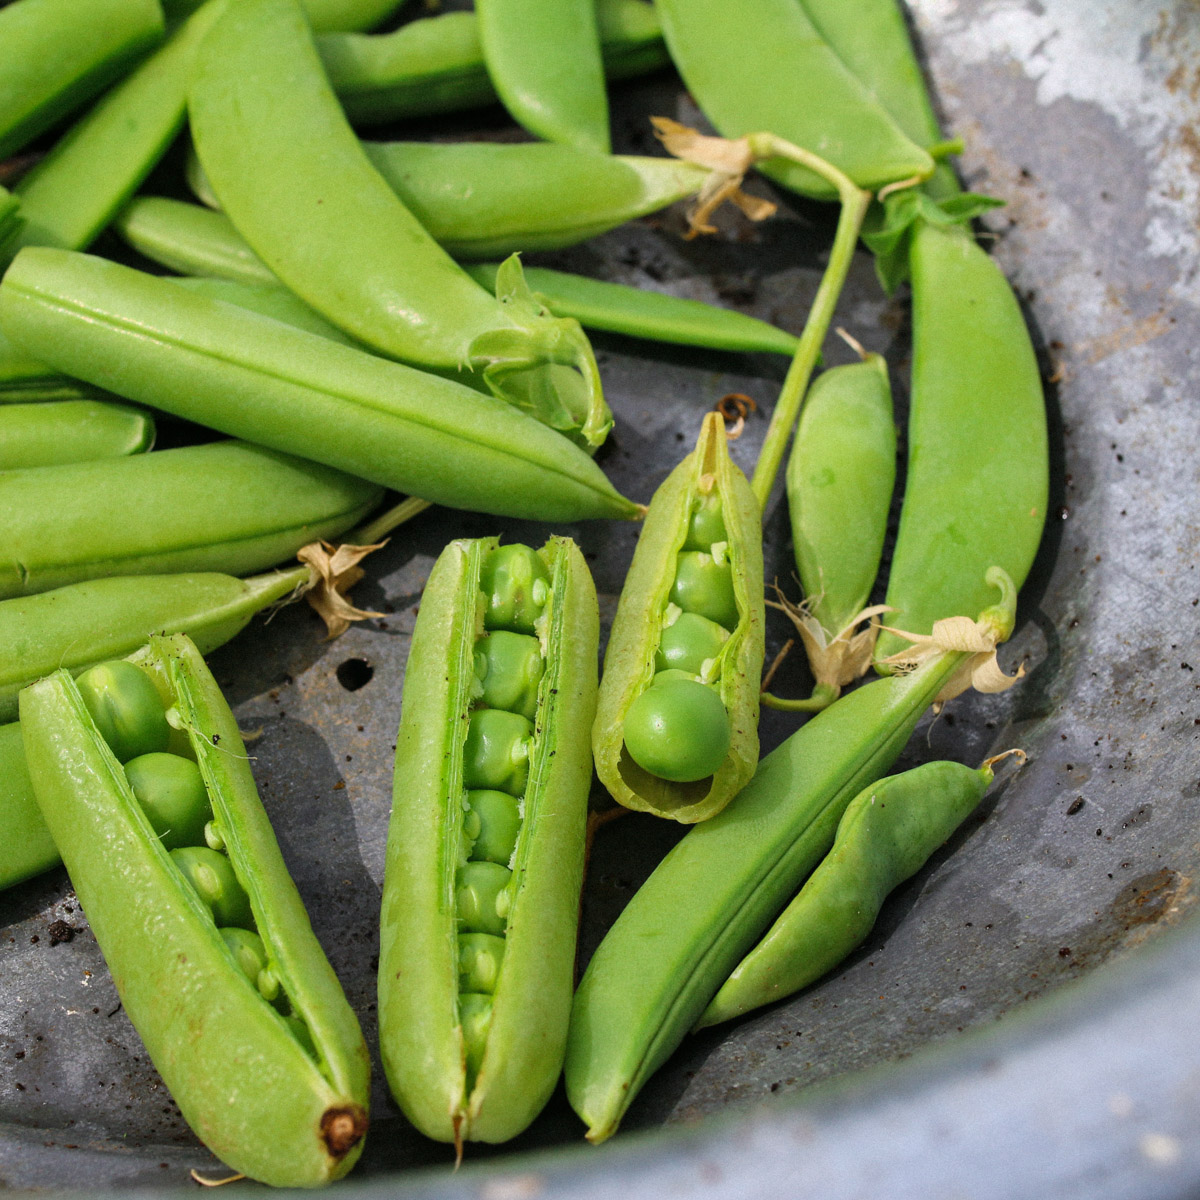
More about our winter peas
It’s all in the name: this pea can handle the cold. The young shoots are delicious. The flowers are also edible.
If you let the plants grow, you get delicious peas. Sow them in the fall to harvest winter shoots.
- Species name: Garden Pea Feltham First
- Family: legume
- Plants per square patch: 9
- Height: 60 cm
- Sowing time: mid-February till end of June and/or October
- Sowing depth: 2 to 3 cm
- Time to harvest: shoots from 6-8 weeks, peas 8-12 weeks
- Germination: 7 to 23°C in 6 to 24 days
- Sunlight: Early in the year they like to grow in the sun, later they can grow in the sun or shade.
Want to buy winter peas? We sell seed bags separately or you can get them as part of a 'Specials' seed pack:
What are winter peas?
This Feltham First pea variety grows great in colder temperatures. You harvest the delicious shoots, flowers, and peas. (Just skip the pods: they're not edible.)
For a winter crop, sow your winter peas in October and November. If you grow them in a cold frame or use an MM-Muts crop cover, you can harvest fresh shoots all winter.
If you don't use a crop cover or cold frame, you can also sow them early in the spring: from mid February until June. As soon as the temperature rises a little, the plants grow quickly. With a bit of luck you can start cutting shoots in April.
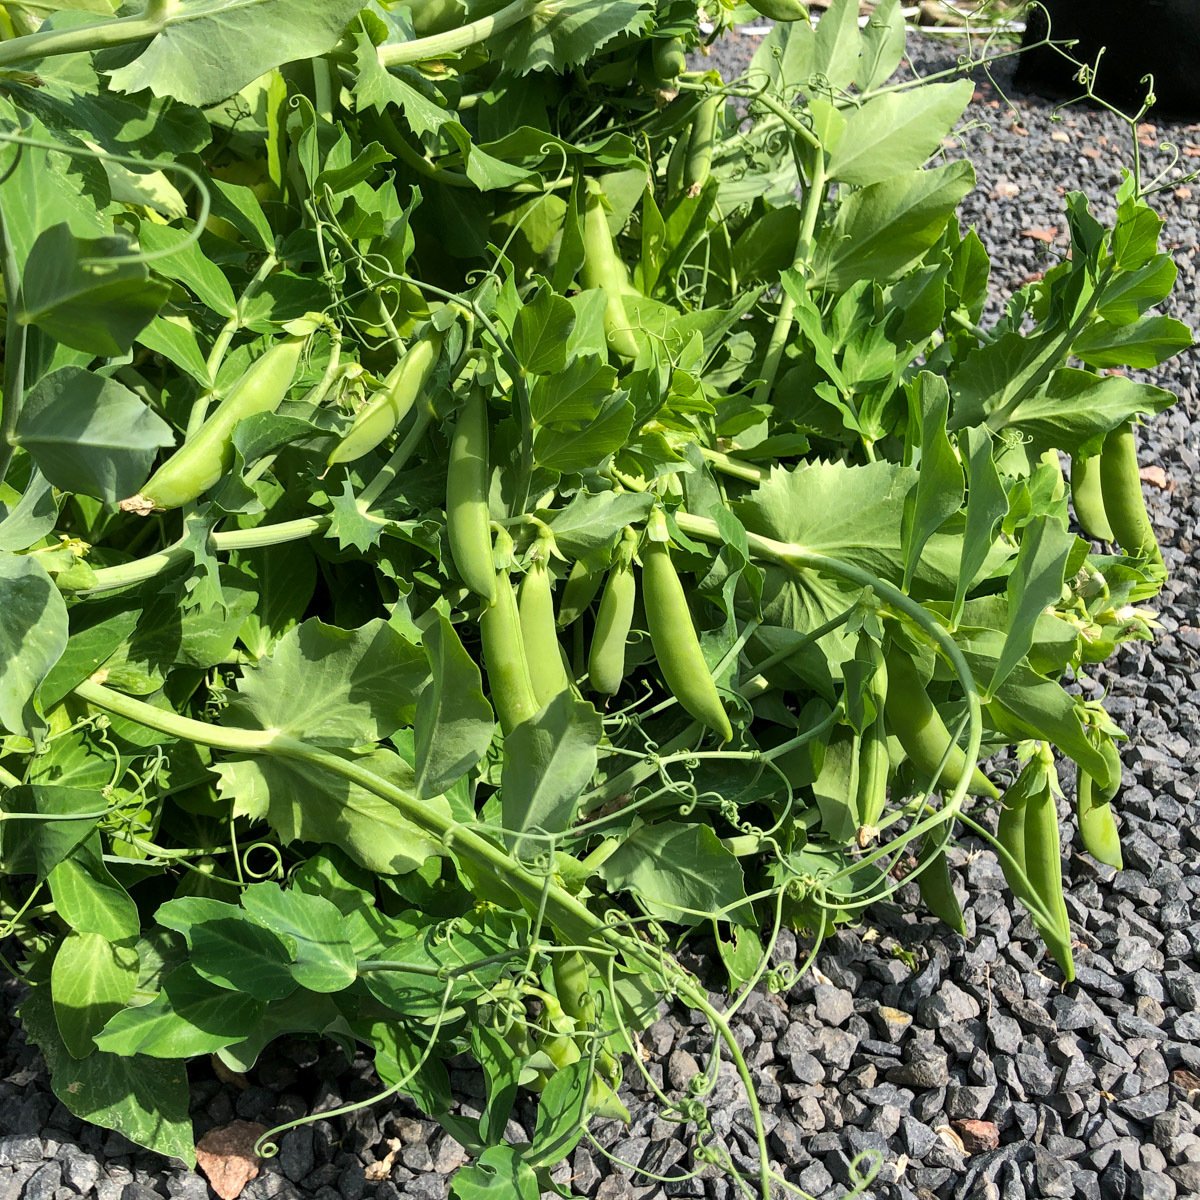
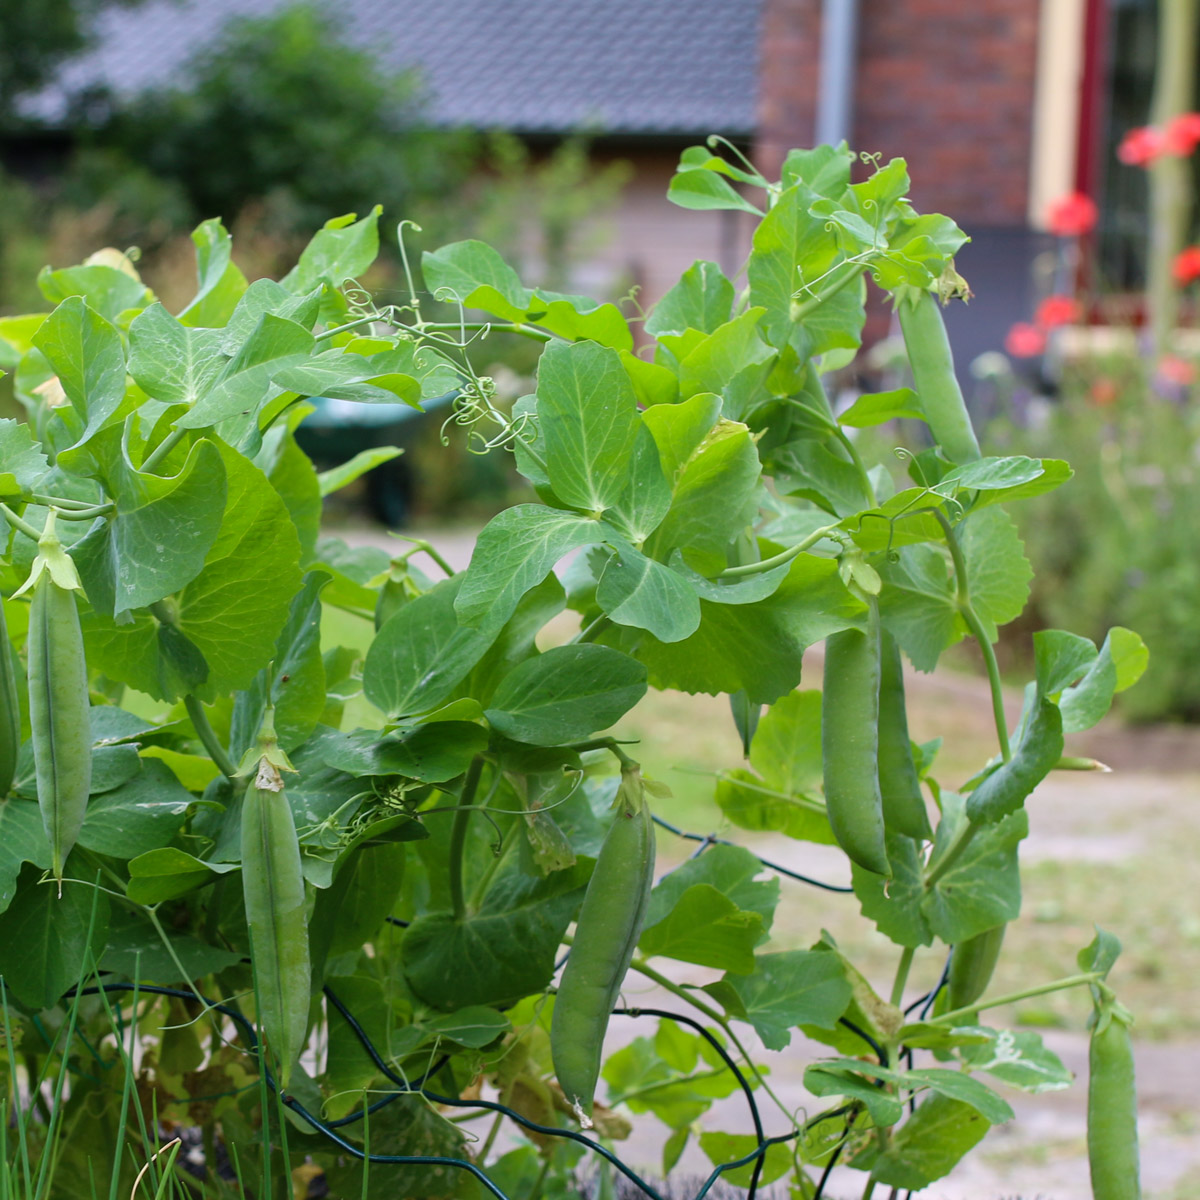
The adult plants grow to about 40-50 cm high. So put them in a patch at the back of your garden box.
For a winter crop, sow your winter peas in October and November. If you grow them in a cold frame or use an MM-Muts crop cover, you can harvest fresh shoots all winter.
If you don't use a crop cover or cold frame, you can also sow them early in the spring: from mid February until June. As soon as the temperature rises a little, the plants grow quickly. With a bit of luck you can start cutting shoots in April.
The adult plants grow to about 40-50 cm high. So put them in a patch at the back of your garden box.
What do you need to grow your own winter peas?
Just this:
- a 30x30 cm patch with airy, nutritious soil mix
- winter peas
- a place with at least 6 hours of sunlight a day
In other words: an MM-Mini, or a square patch in one of our garden boxes, filled with MM-Mix.
Growing your own winter peas is super easy with the MM-Mix. If you grow in low-quality (potting) soil, disappointment is pretty much guaranteed. So don't skimp on soil mix: go for the best.
Growing your own winter peas is super easy with the MM-Mix. If you grow in low-quality (potting) soil, disappointment is pretty much guaranteed. So don't skimp on soil mix: go for the best.
How do you sow and grow winter peas?
Winter peas are included in the free Planty Gardening app. Use it, and you'll get step-by-step guidance from seed to harvest.
Each plant goes through a number of stages - we call them levels. The app tells you exactly what to do at each level and checks in when your plants are ready for the next.
So you don't need to know how to grow winter peas before you start: the app takes you through every step.
But if you'd like to read more about those steps, here's what the process looks like:
Each plant goes through a number of stages - we call them levels. The app tells you exactly what to do at each level and checks in when your plants are ready for the next.
So you don't need to know how to grow winter peas before you start: the app takes you through every step.
But if you'd like to read more about those steps, here's what the process looks like:
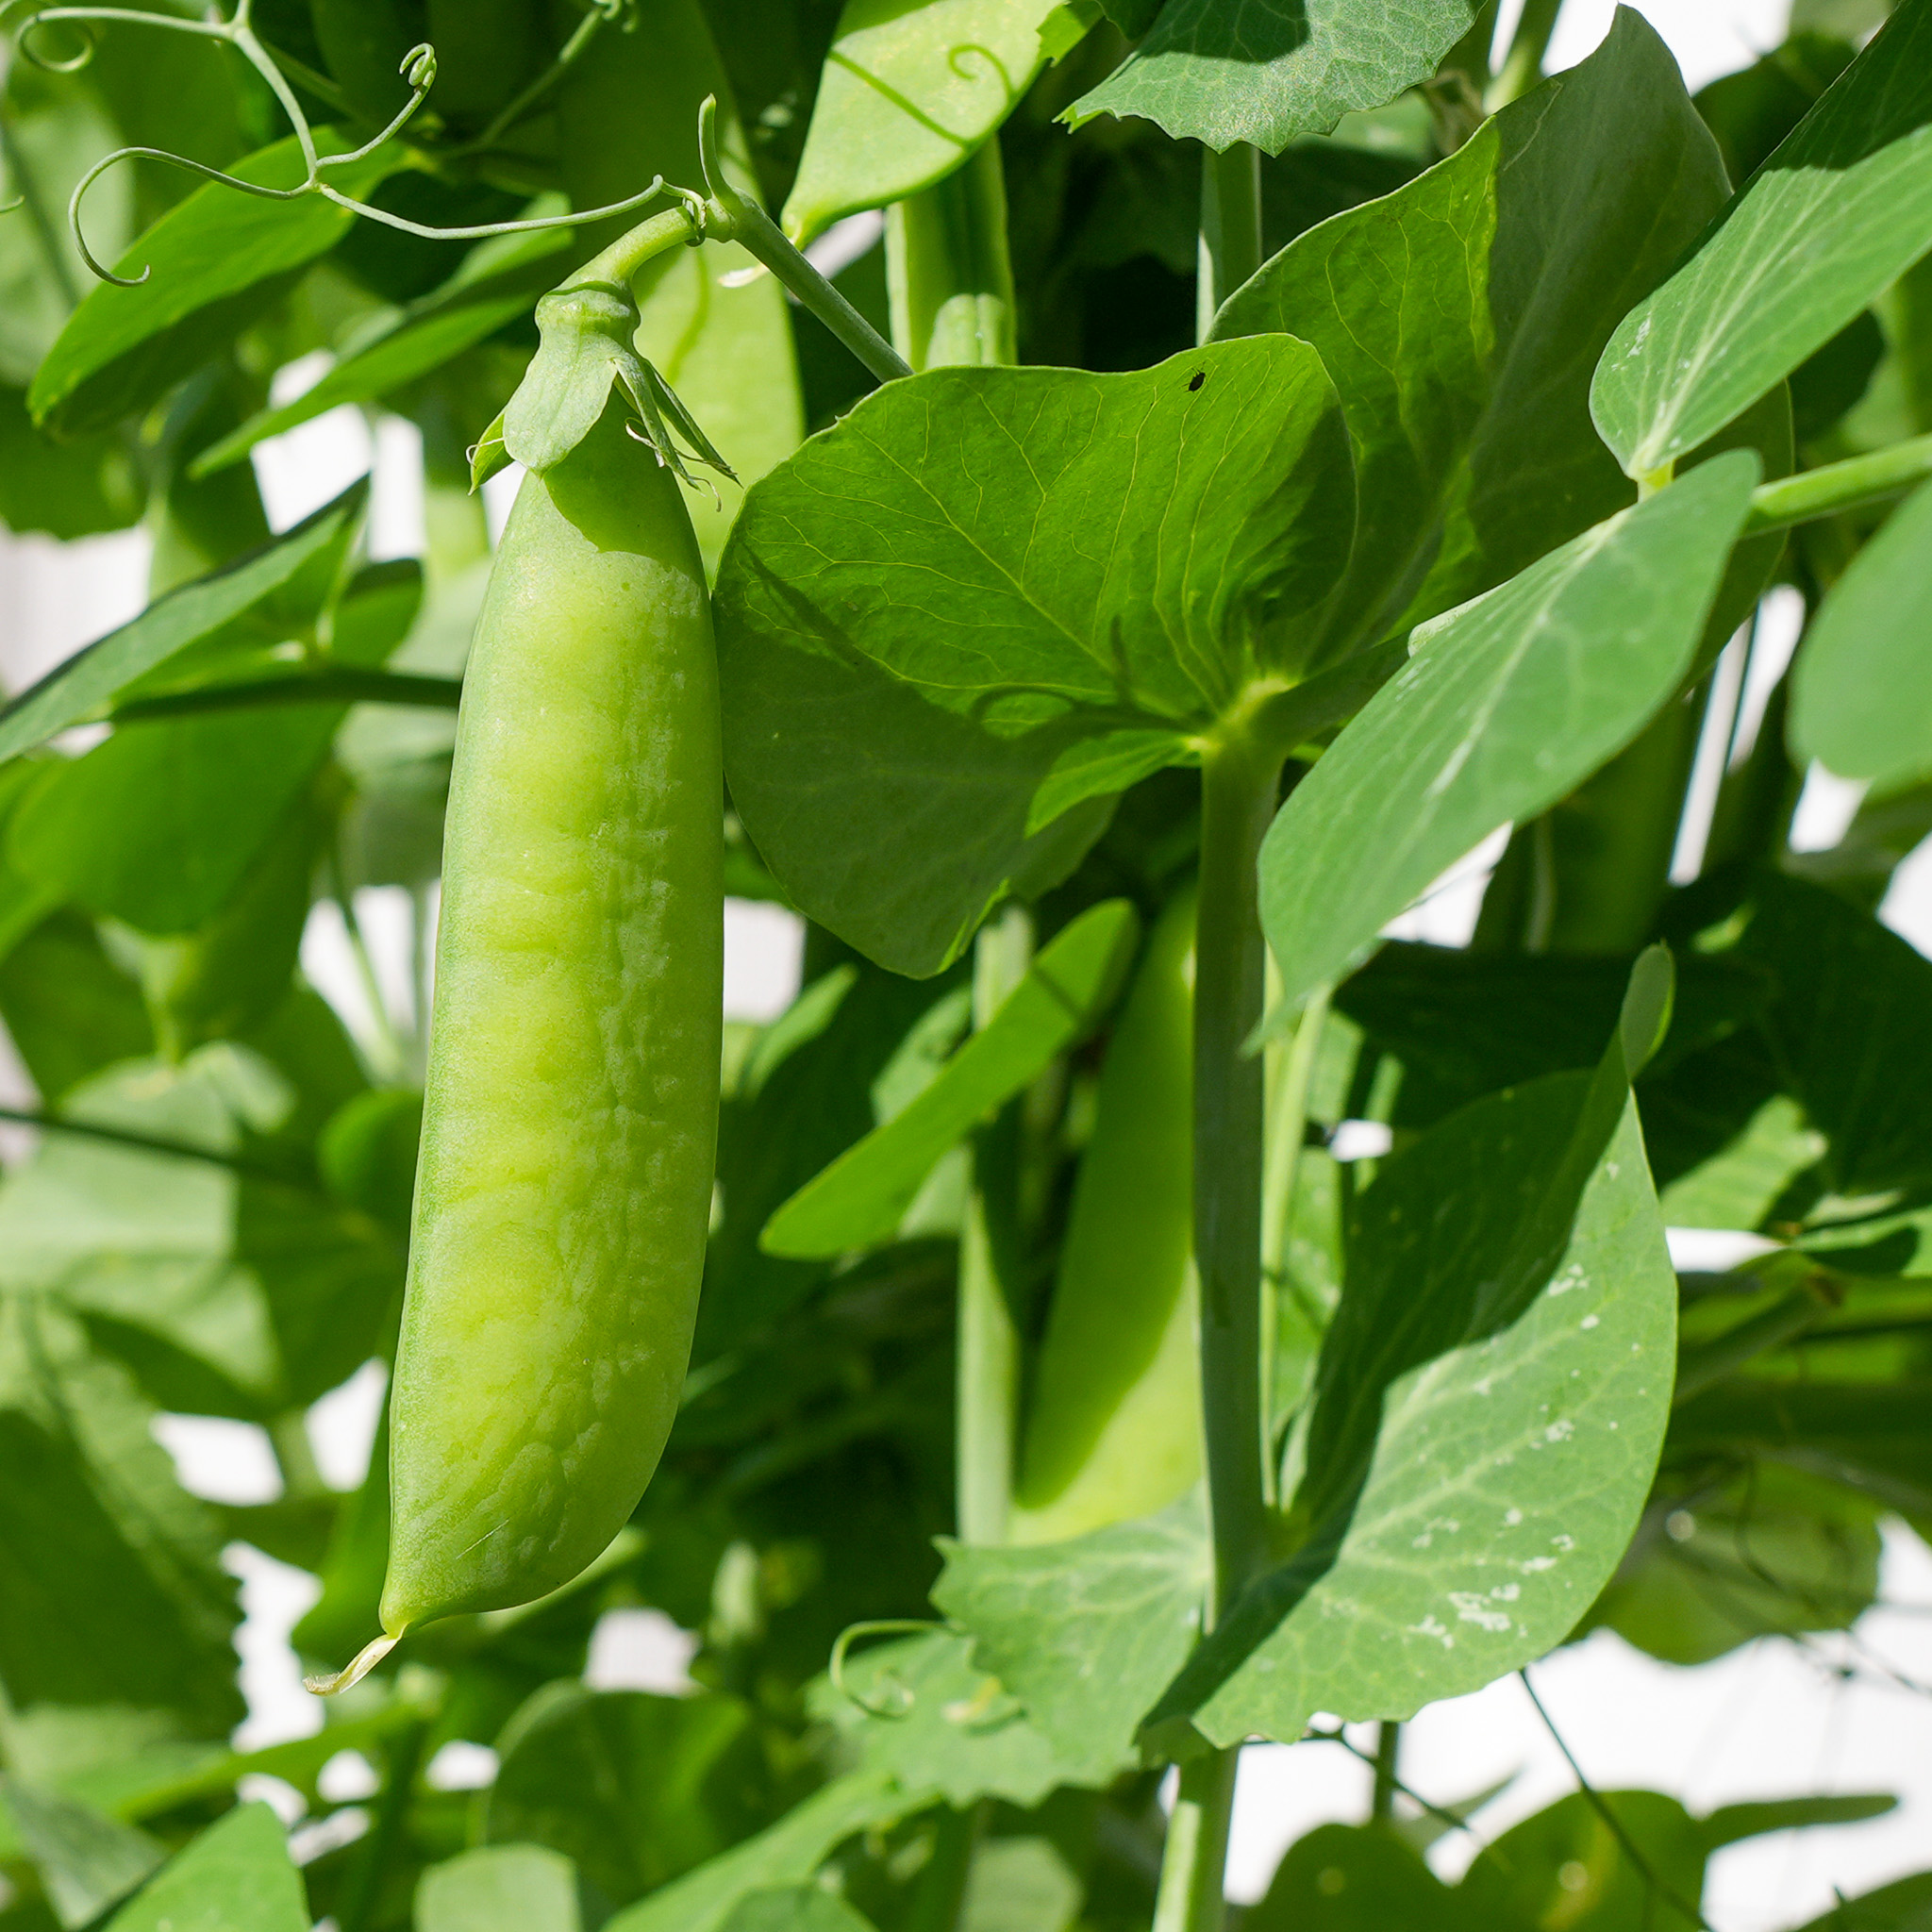
Level 1: Pre-sprouting winter peas
Level 1: Pre-sprout Winter peas
Before sowing Winter peas outside in your raised bed, let them develop a root first, just as you would with sugar snaps and snow peas. This improves germination.
The easiest method is to place them on or between damp kitchen paper. The peas germinate after about four days; sow them directly in your raised bed as soon as the roots appear.
The easiest method is to place them on or between damp kitchen paper. The peas germinate after about four days; sow them directly in your raised bed as soon as the roots appear.
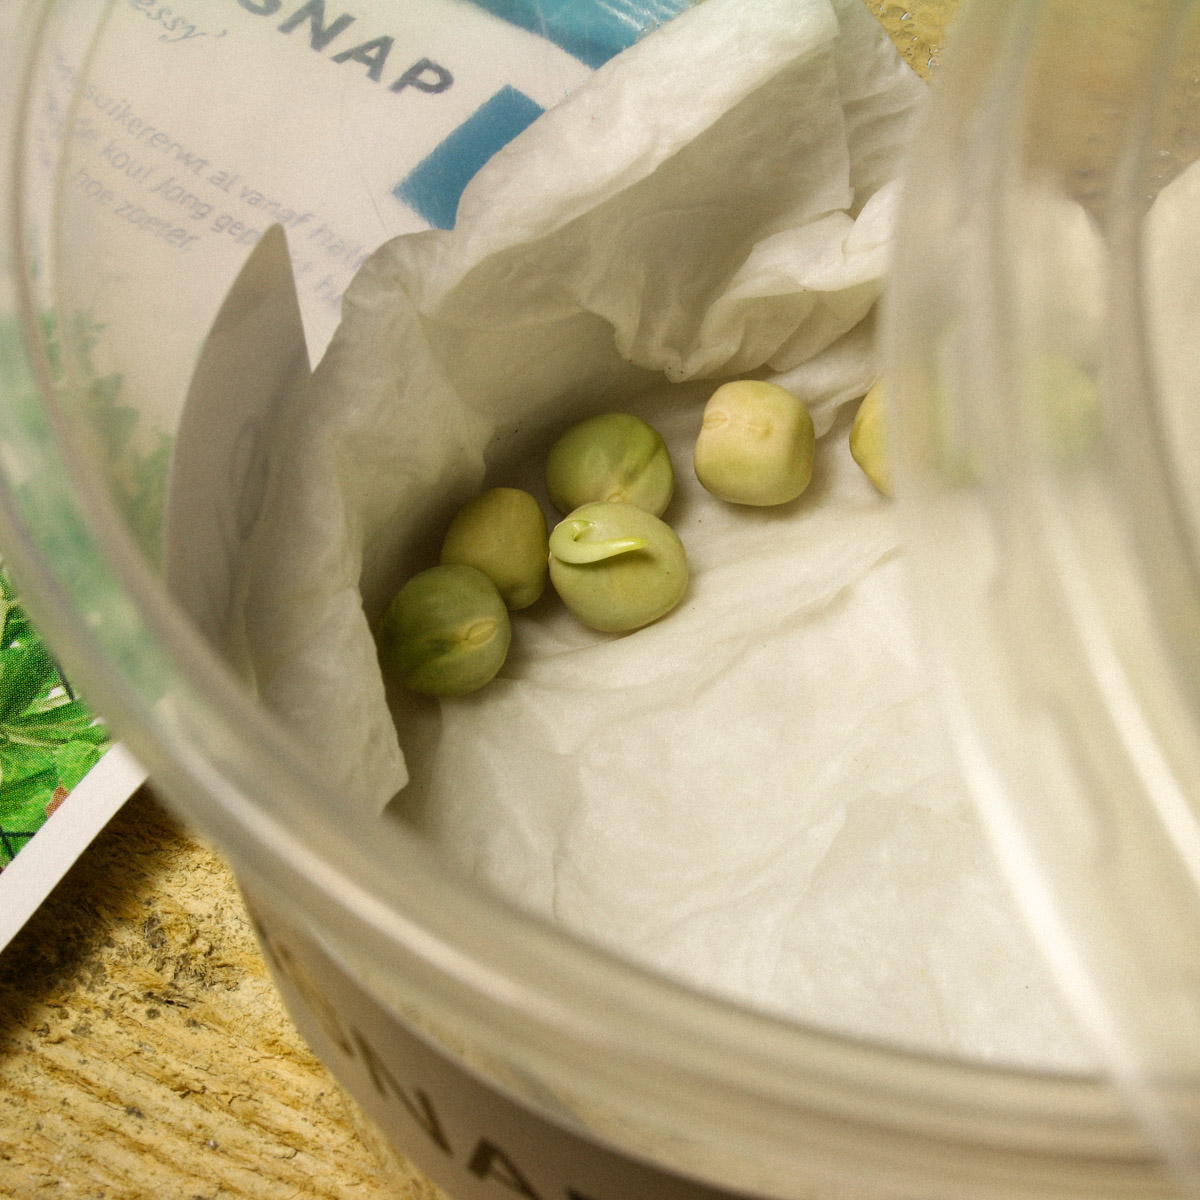
Level 2: Sowing peas
Level 2: Sow Winter peas
Loosen the mix in a square at the back of your raised bed, or in an MM-mini, and sow as follows:
- make nine holes, 2 to 3 cm deep
- choose the best sprouted peas and put one in each hole, working carefully so the roots remain intact
- gently close the holes
Depending on the weather and time of year, green shoots will appear after one to two weeks.
In very cold early-spring weather, it may take longer. Speed things up by covering the square with an MM cover or clear plastic containers. This also stops birds picking out the peas.
In very cold early-spring weather, it may take longer. Speed things up by covering the square with an MM cover or clear plastic containers. This also stops birds picking out the peas.
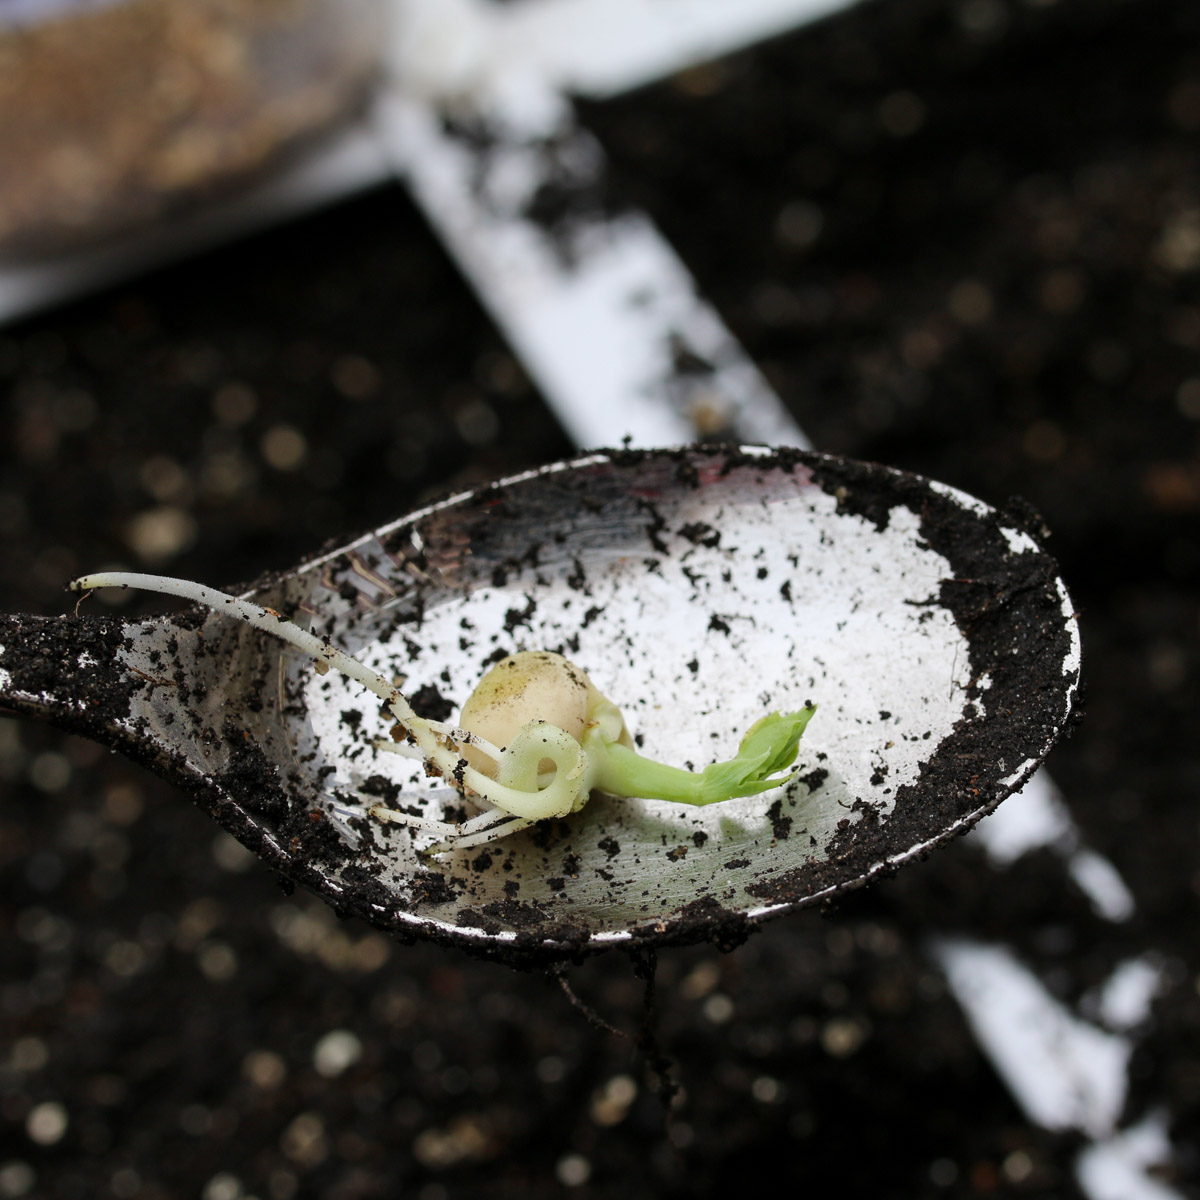
Level 3: Pea seedlings
Level 3: Winter pea seedlings
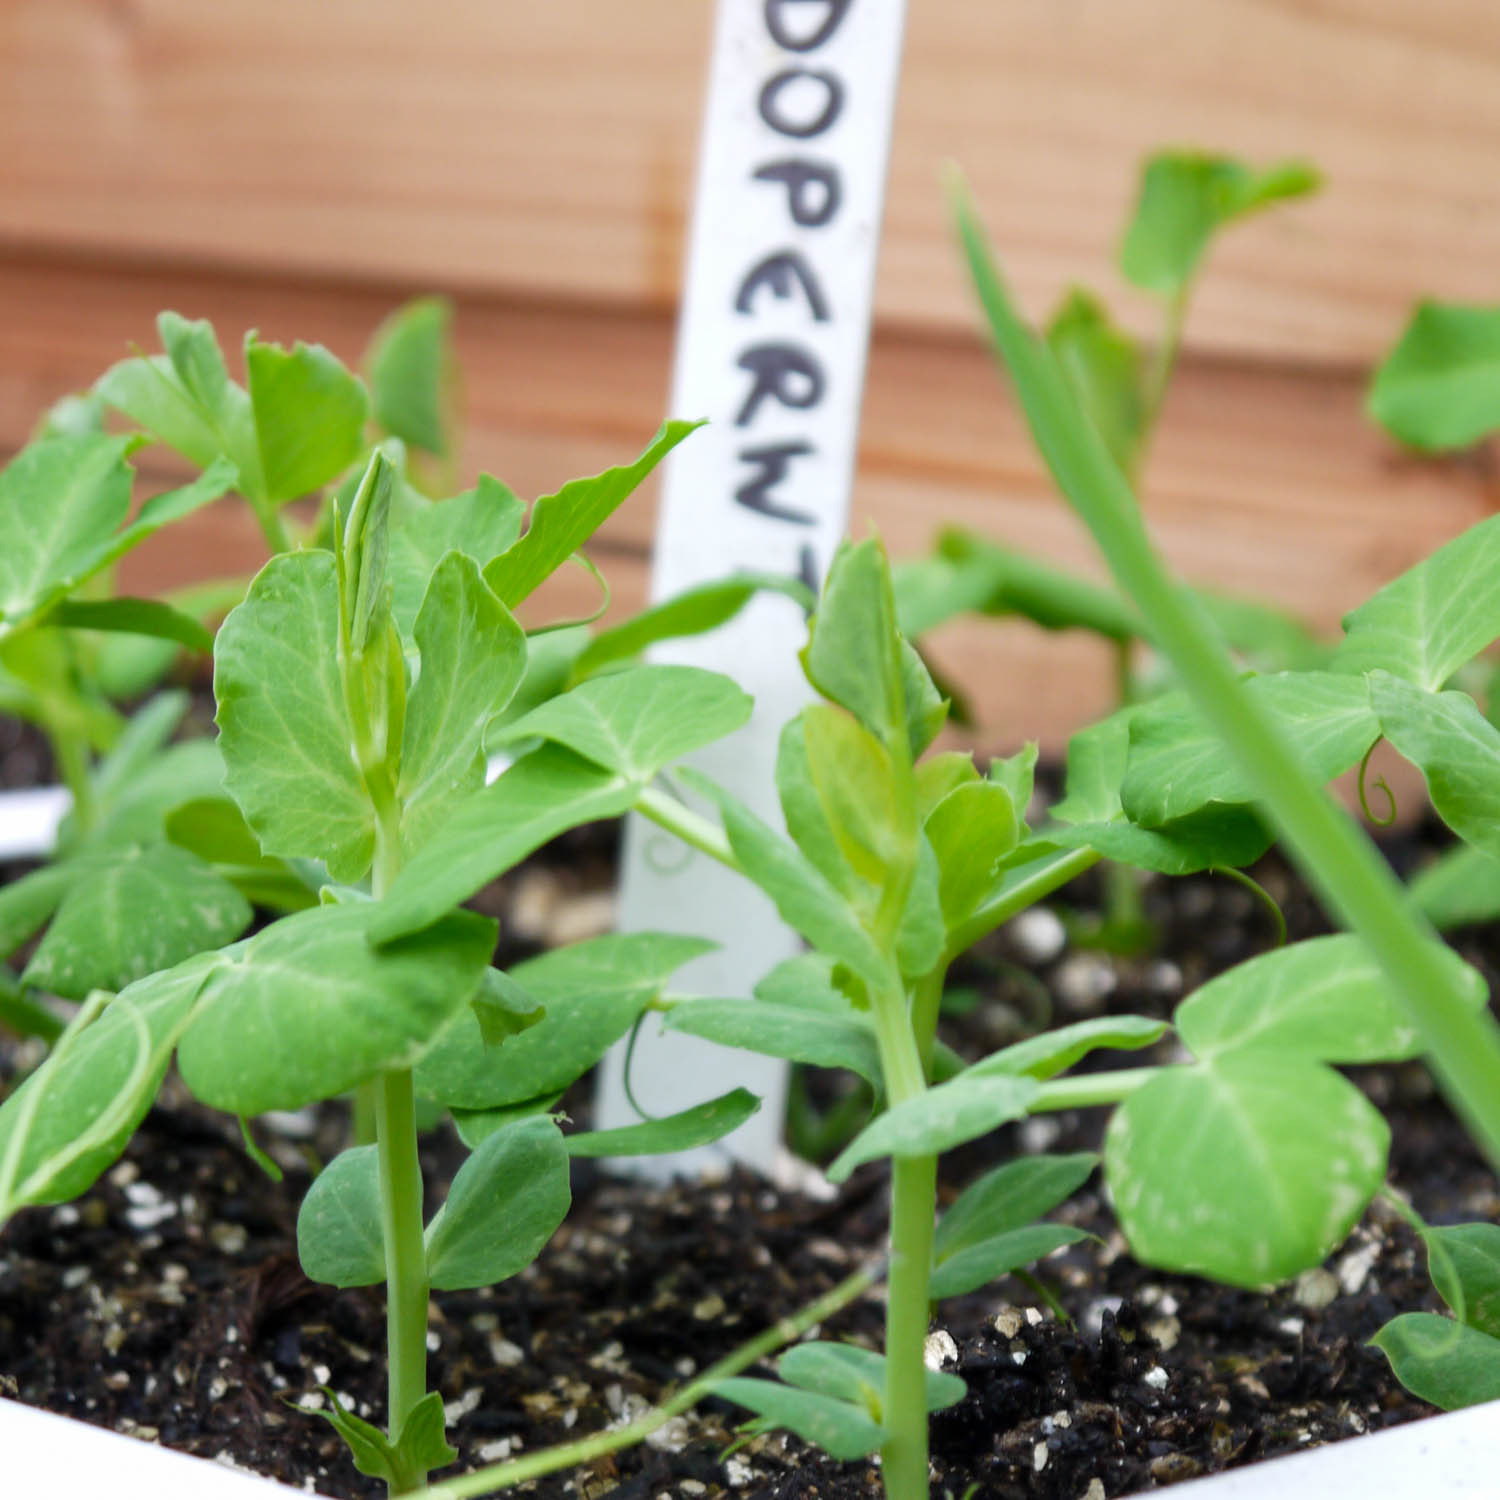
As soon as the first seedlings emerge, you know things are going well.
They will not all appear at once, but most should be up after about two weeks. Then it is time for the next level.
They will not all appear at once, but most should be up after about two weeks. Then it is time for the next level.
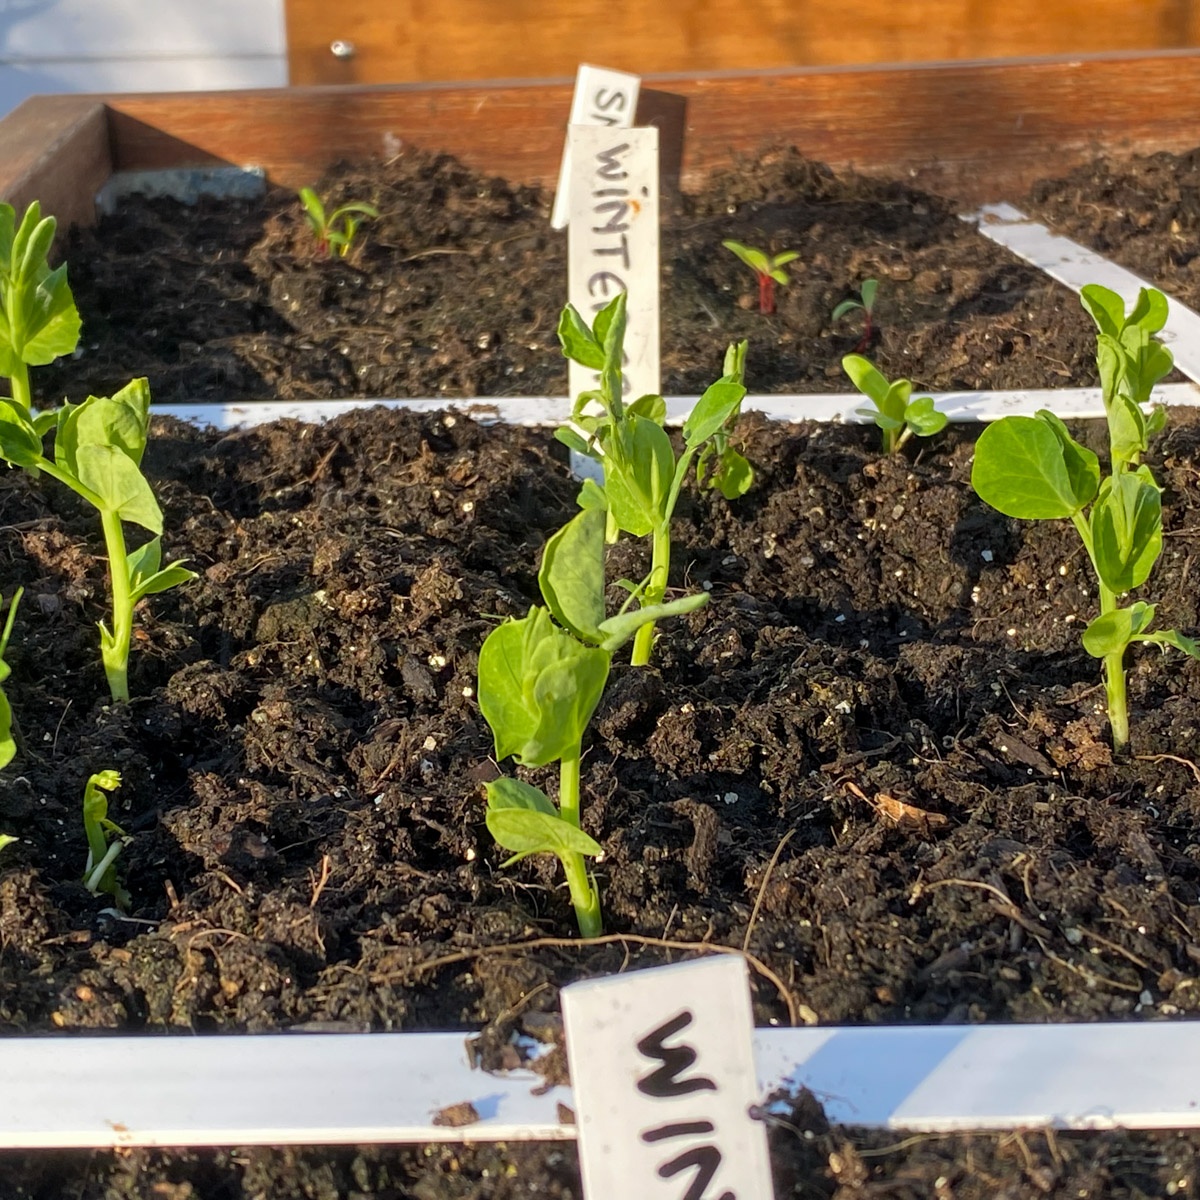
Level 4: Caring for your winter pea plants
Level 4: Caring for Winter pea plants
After about two weeks, the seedlings have already become small plants.
They will grow quite quickly over the next few weeks, but need very little attention from you. Nice and easy.
They will grow quite quickly over the next few weeks, but need very little attention from you. Nice and easy.
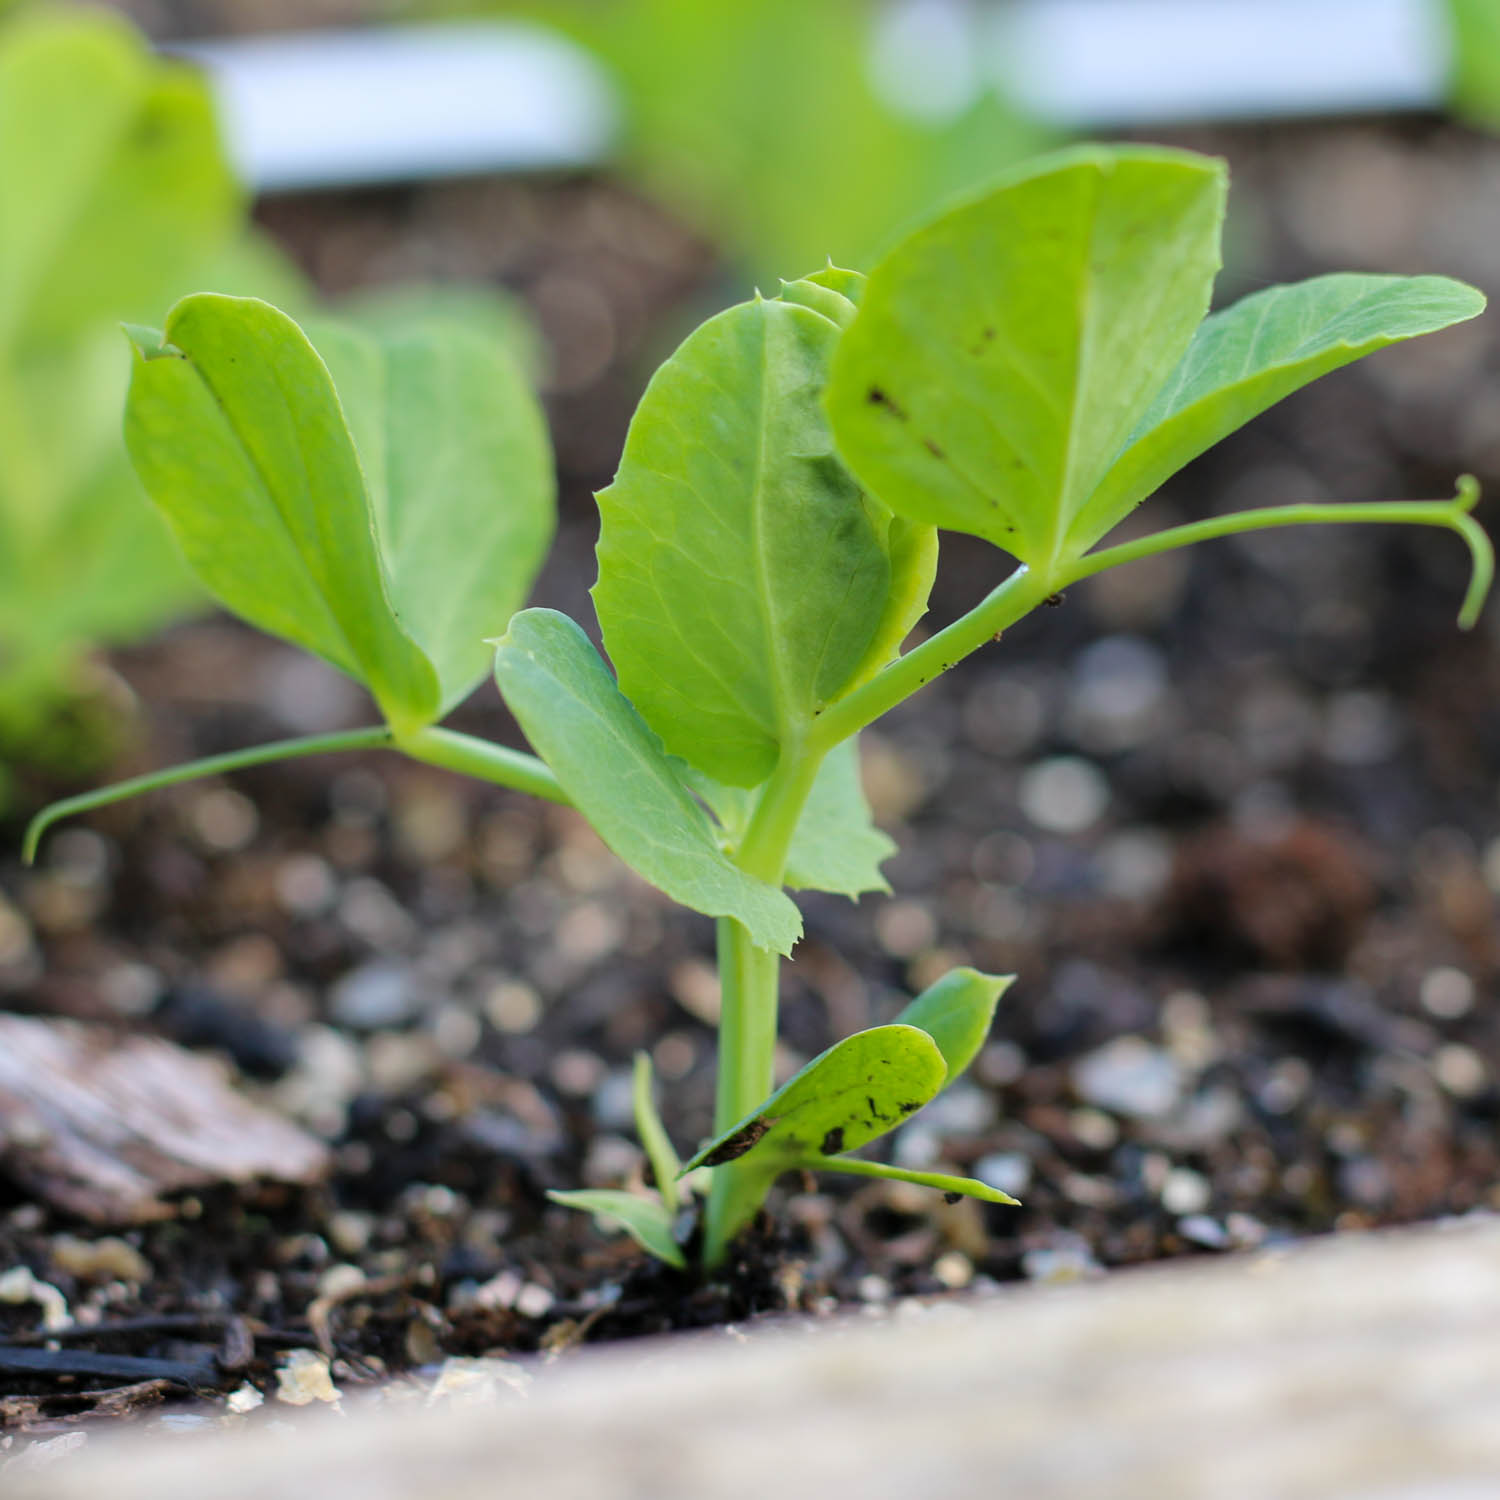
Level 5: Place a rack over your winter pea plants
Level 5: Place a support over the Winter peas
As the plants grow, they soon become too floppy to stand on their own. Place a small support frame over them.
You can easily make one from garden mesh:
You can easily make one from garden mesh:
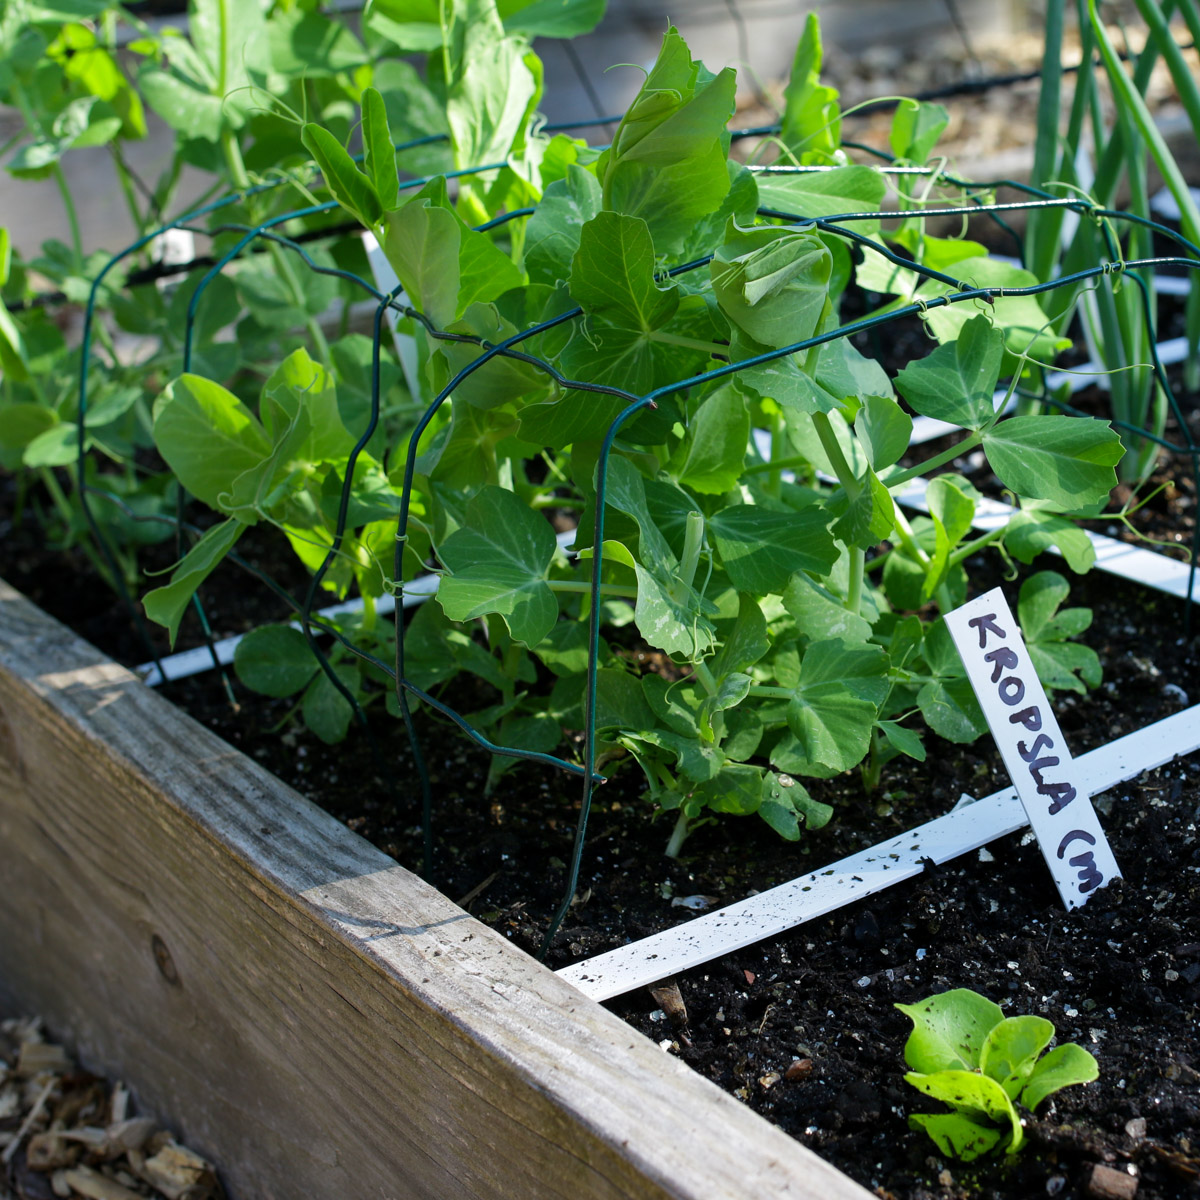
But it also works to set up 4 bamboo sticks as a teepee over the bed, and wrap some wire around it.
Another week or 2 later, the first flowers appear.
Another week or 2 later, the first flowers appear.
Level 6: Blossoming winter peas
Level 6: Flowering Winter peas
At this level, the plants flower with beautiful white pea blossoms. These will later develop into pods.
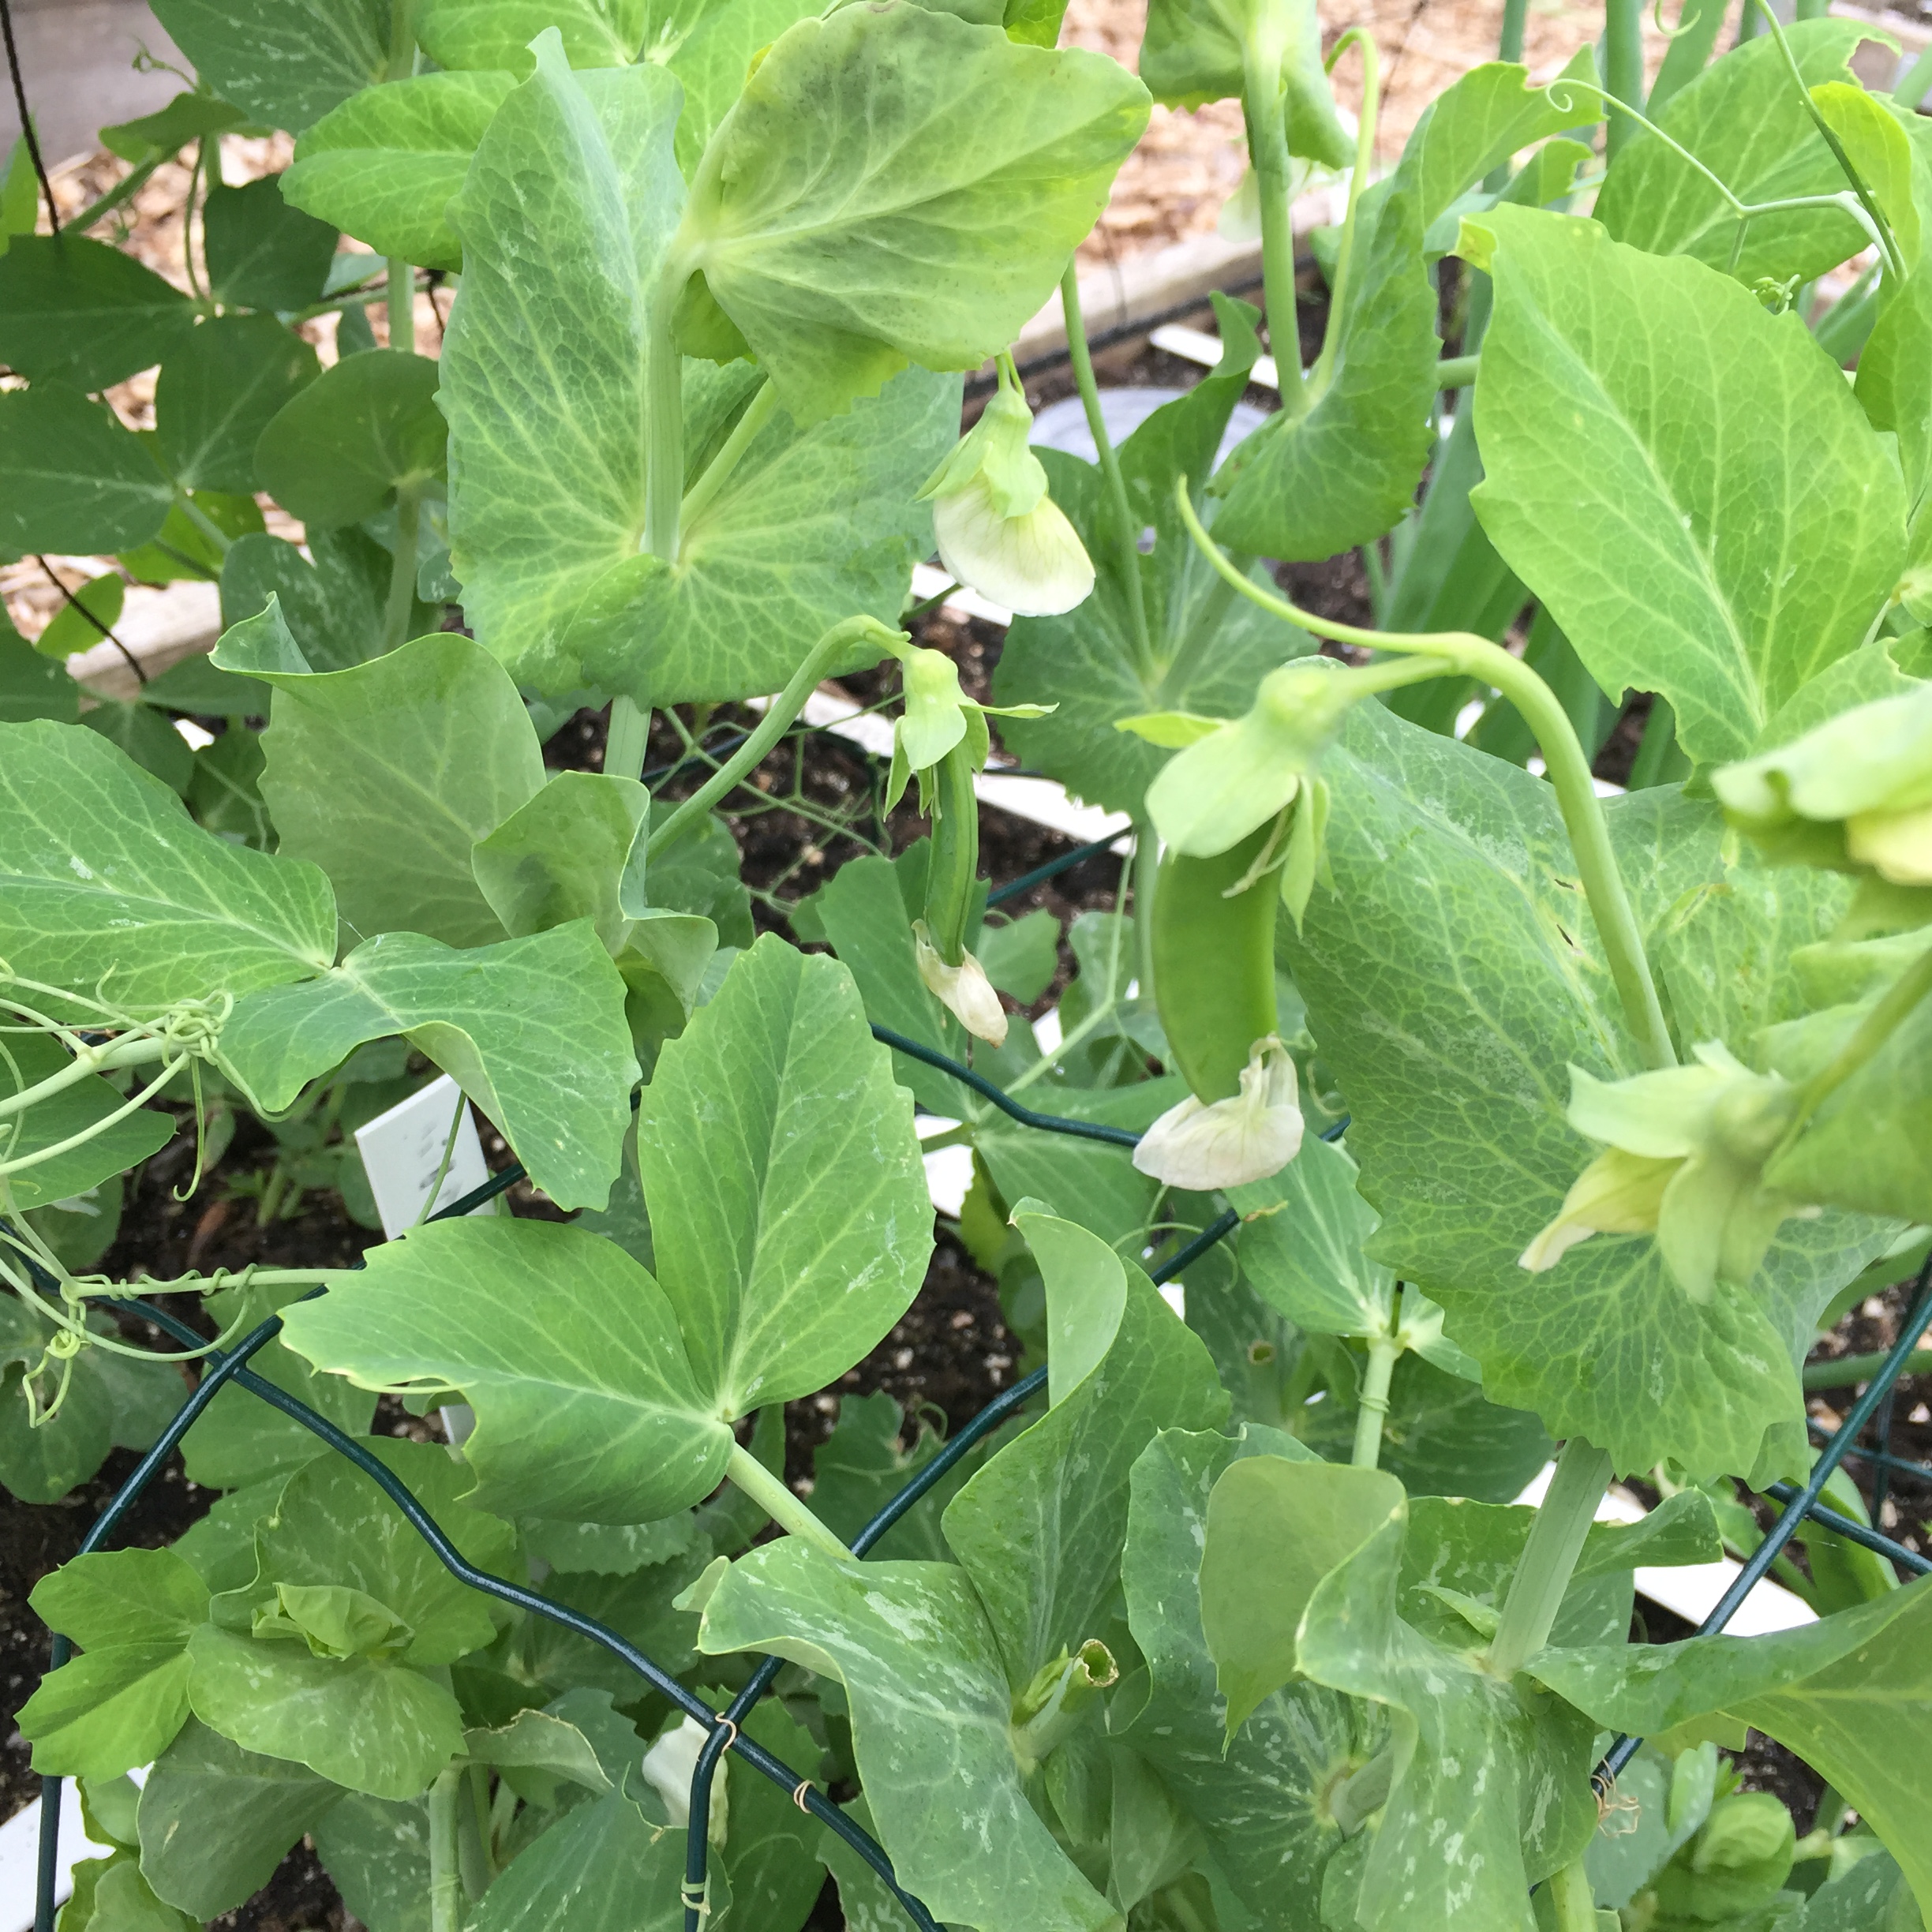
Level 7: Harvest the first winter peas
Level 7: Harvest the first Winter peas
Harvesting early encourages the plants to produce more flowers and therefore more pods.
At this stage, the leaves quickly begin to turn yellow and untidy. That is completely normal.
At this stage, the leaves quickly begin to turn yellow and untidy. That is completely normal.
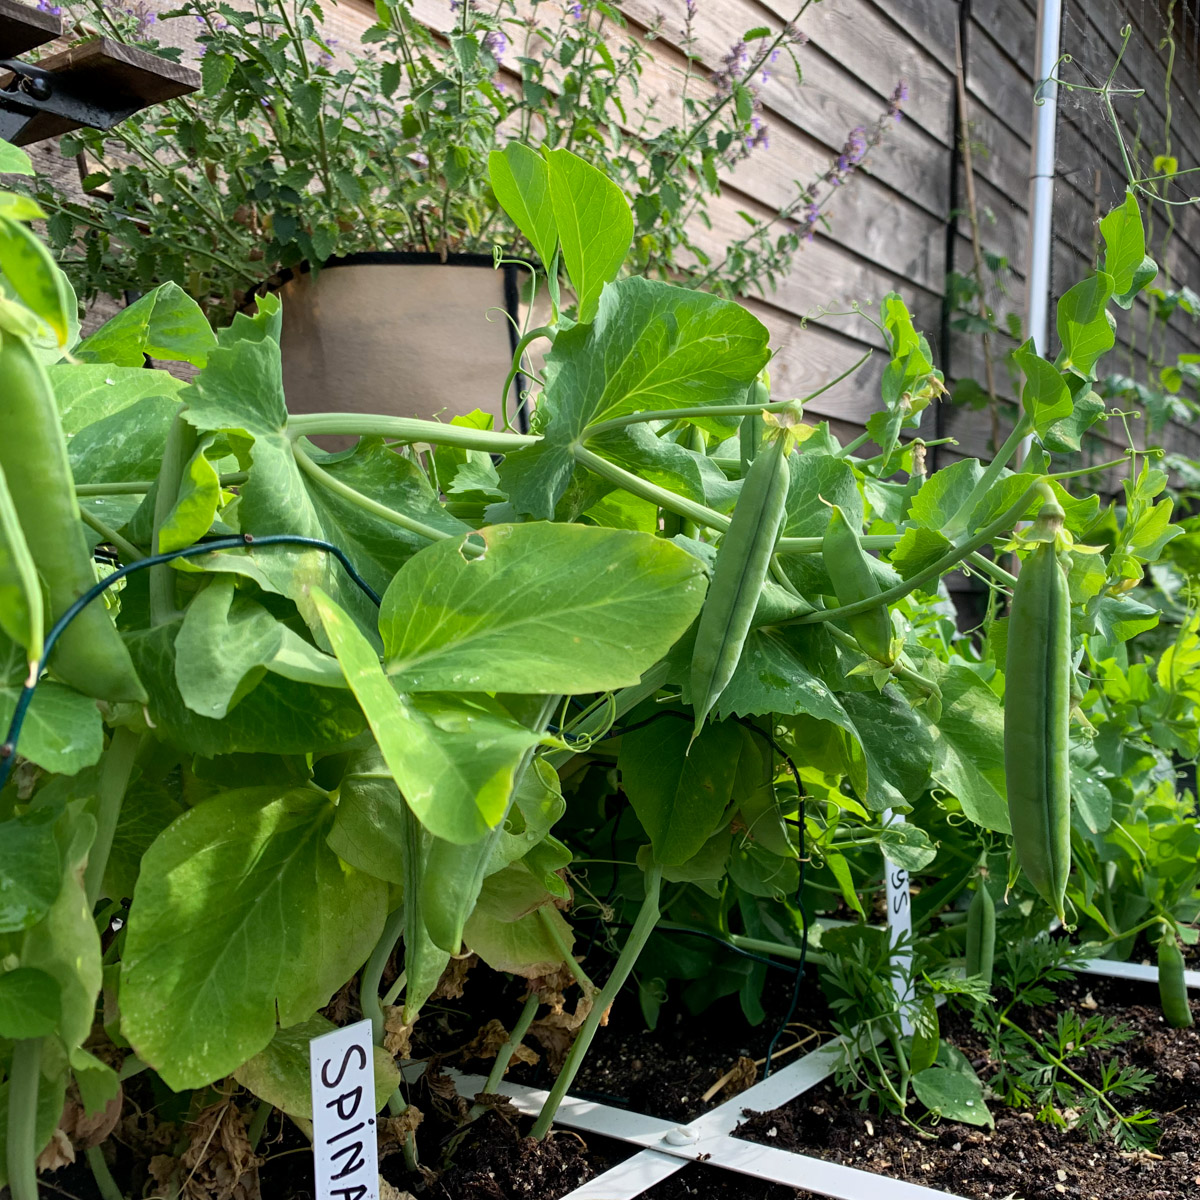
How do you cook winter peas?
How do you harvest and use Winter peas?
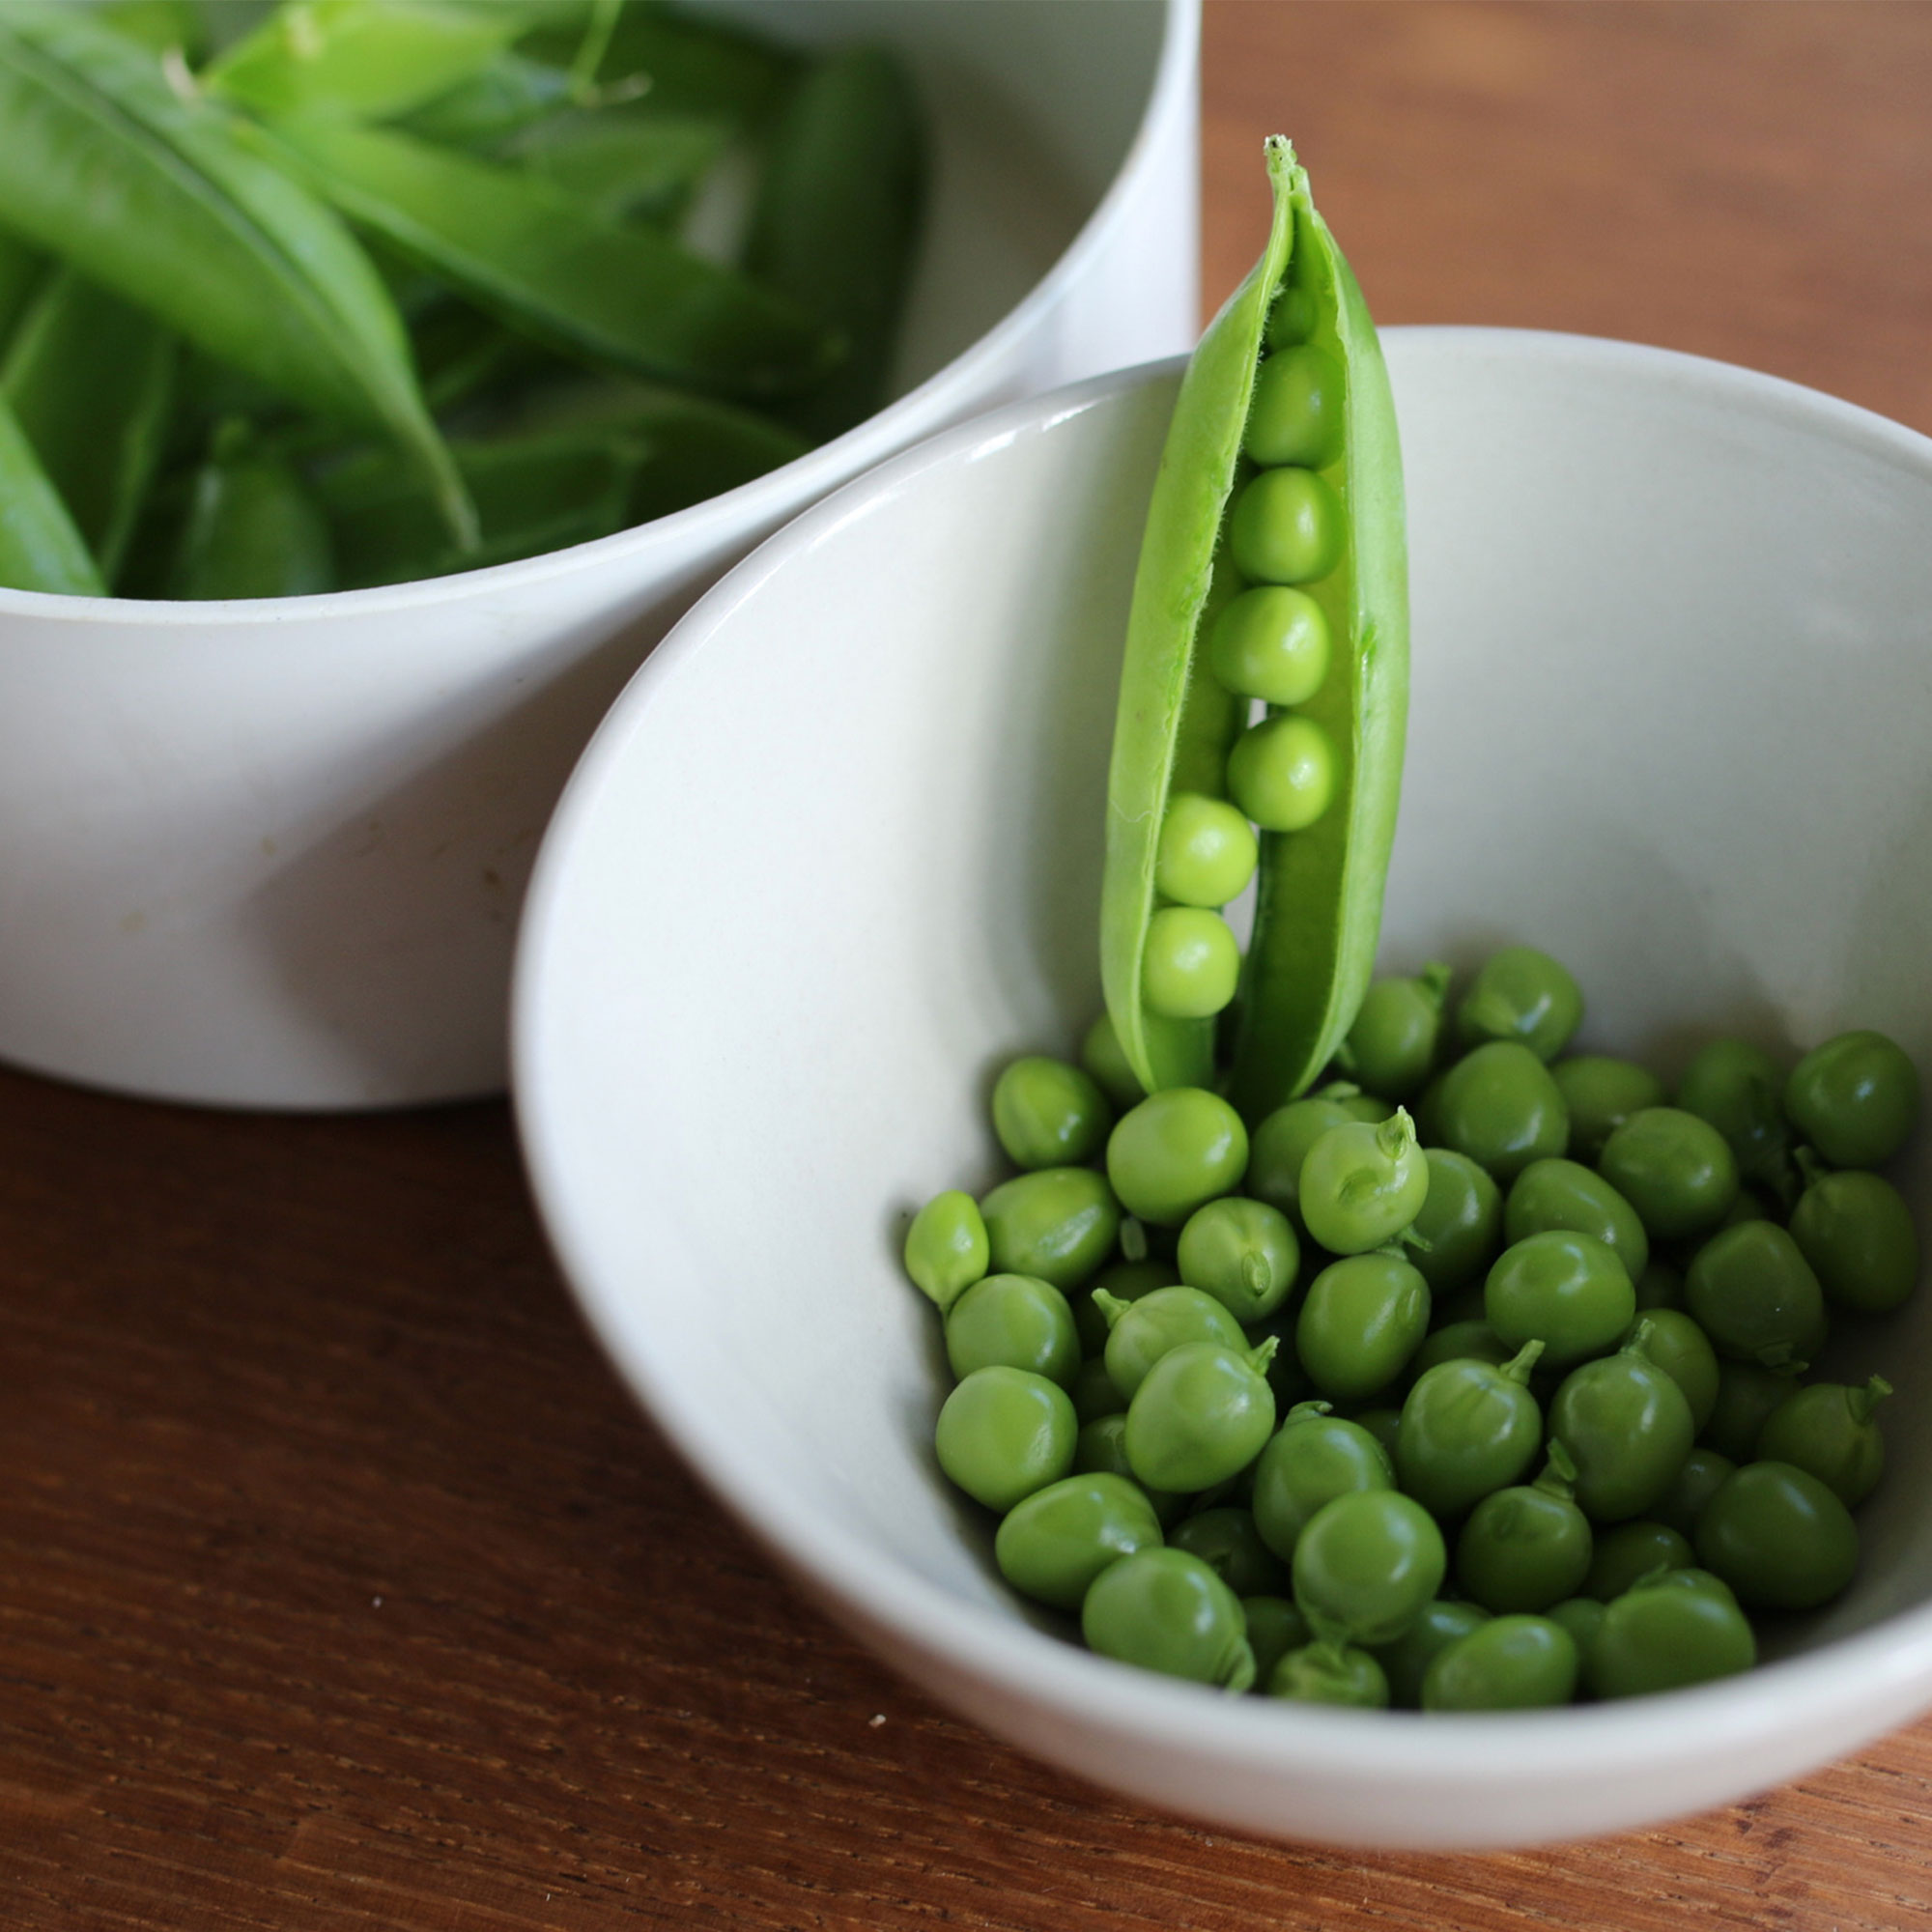
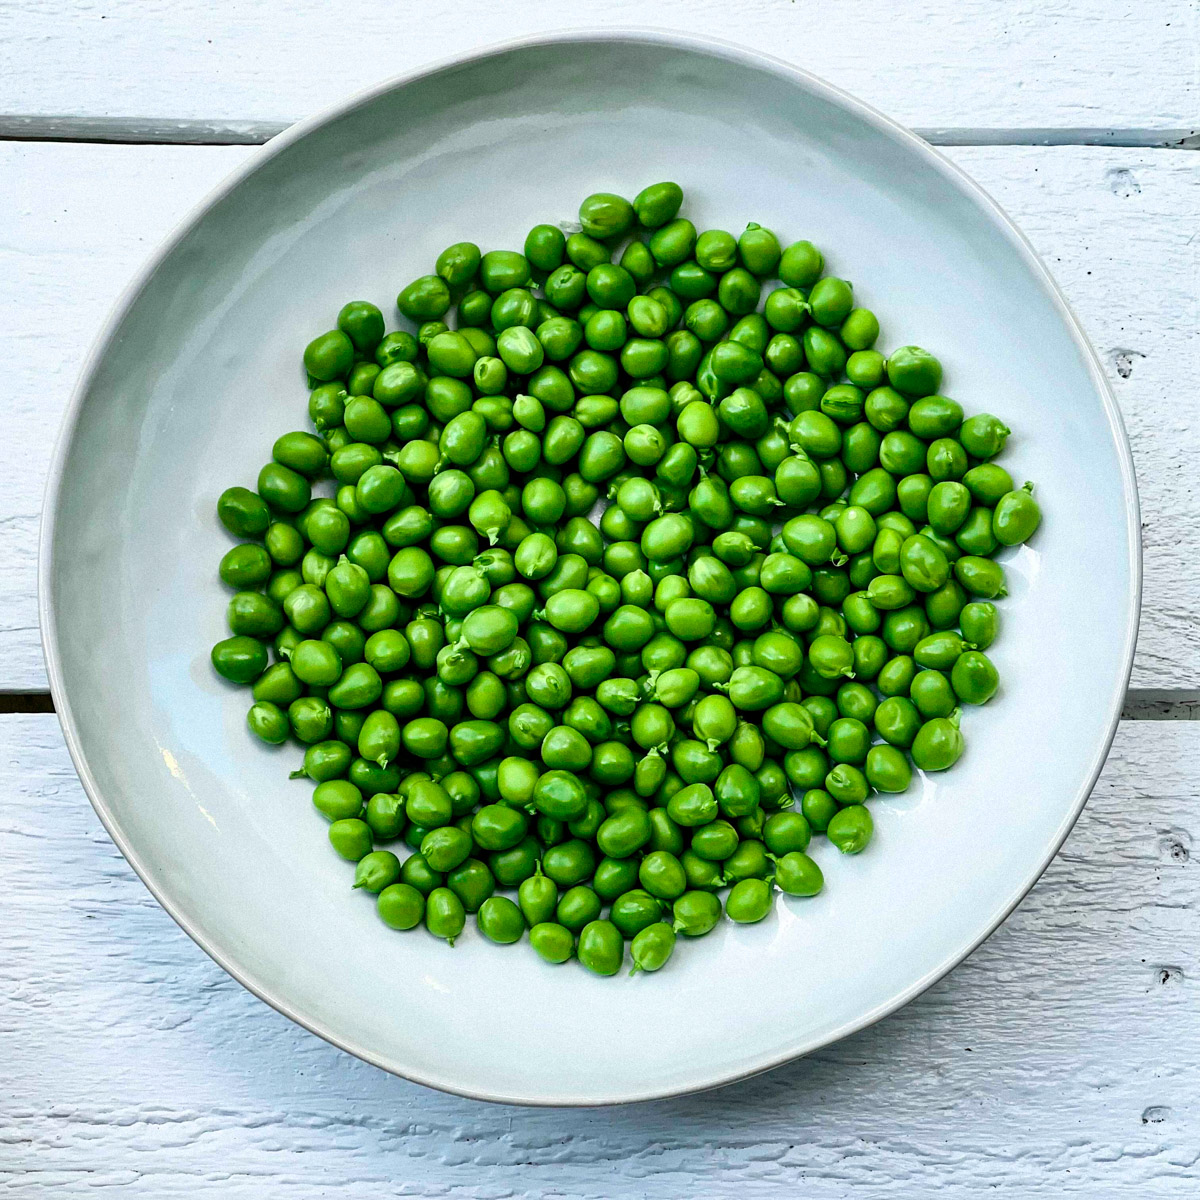
Cut off the pods when they are nicely plump, open them and remove the peas. Discard the pods.
Cook or stew the peas briefly, add them to a stir-fry, or mix them into scrambled eggs with salmon. Delicious.
You are sure to find a good recipe in the Knowledge Base.
Cook or stew the peas briefly, add them to a stir-fry, or mix them into scrambled eggs with salmon. Delicious.
You are sure to find a good recipe in the Knowledge Base.
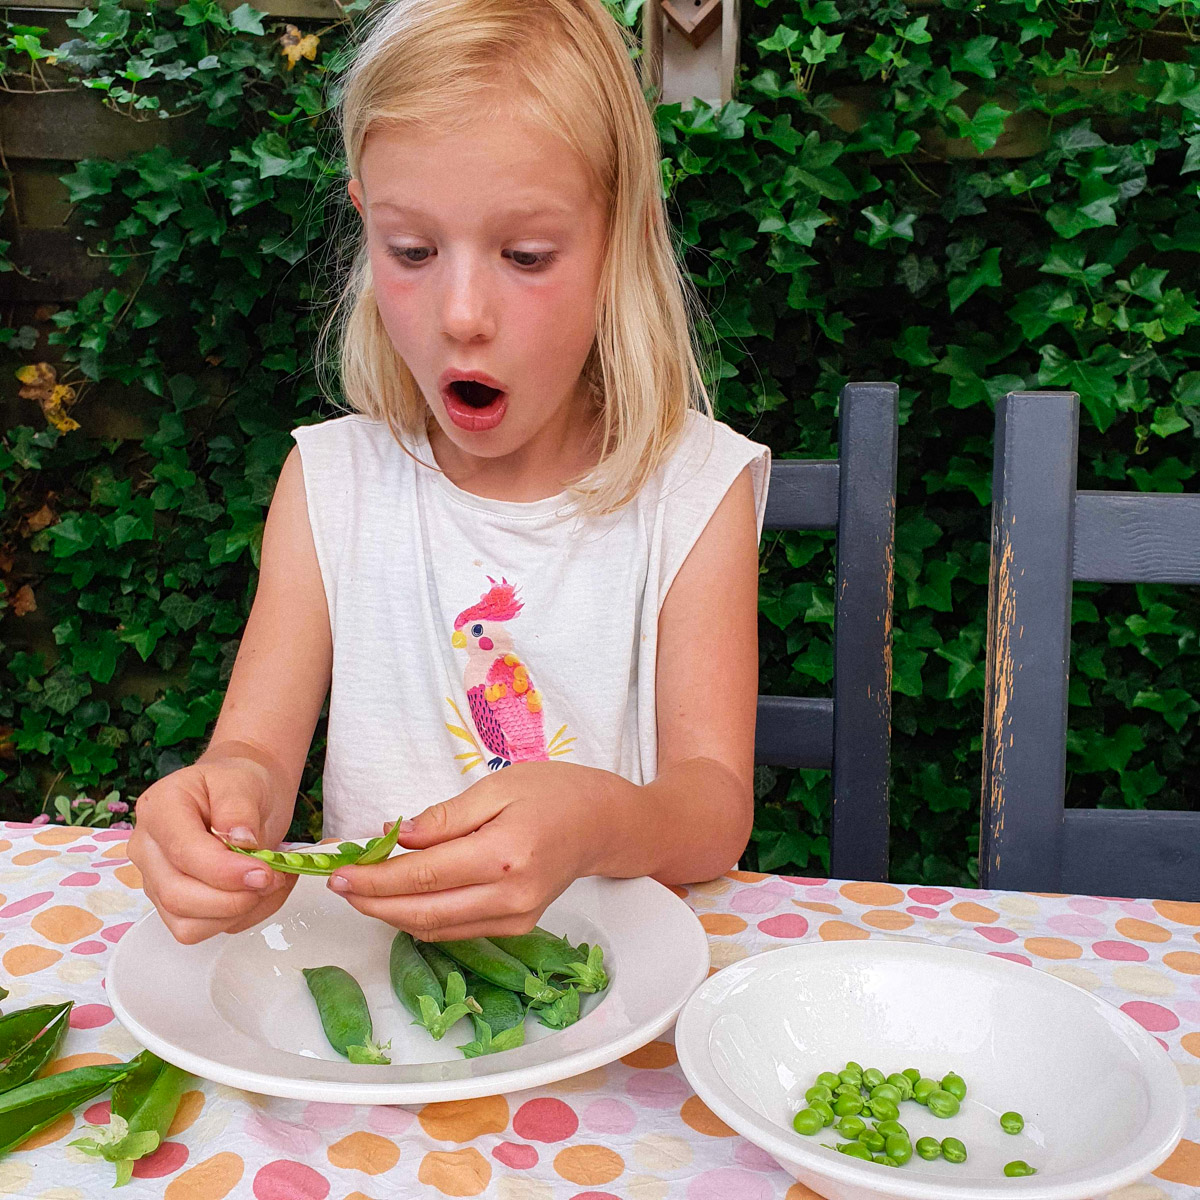
Winter peas contain vitamin A, B1, B5, and B6, C and K, and folic acid. Plus the minerals potassium, magnesium, iron, and zinc, as well as many antioxidants like lycopene. They are true vitamin bombs.
Compared to other vegetables, peas contain a reasonable amount of calories, but also extremely high levels of dietary fibers. These fibers are good for your digestion and provide a feeling of fullness. Additionally, they also contain a significant amount of protein, which is beneficial for vegans and vegetarians.
You eat them (briefly) cooked, never raw. Like other legumes, they contain some anti-nutrients that can be toxic in large quantities. Heating the peas eliminates this.
The last levels
The final levels
During the next level, continue harvesting Winter peas until they are finished and no new flowers appear.
At the final level, clear the square or MM-mini and prepare it for the next vegetable.
At the final level, clear the square or MM-mini and prepare it for the next vegetable.
Winter peas in autumn: harvest the shoots
In October, you can sow again: specifically for the shoots.
If you do this in a cold frame (a vegetable garden box covered with a glass or plastic sheet) or protect them during the coldest weather with a MM-cover, you can continue to harvest fresh shoots throughout the winter.
The young shoots (or twigs, however you want to call them) are very tasty; they taste a bit like peas. Delicious to add raw to salads, include in a green smoothie, or stir-fry with.
If you do this in a cold frame (a vegetable garden box covered with a glass or plastic sheet) or protect them during the coldest weather with a MM-cover, you can continue to harvest fresh shoots throughout the winter.
The young shoots (or twigs, however you want to call them) are very tasty; they taste a bit like peas. Delicious to add raw to salads, include in a green smoothie, or stir-fry with.
So, what's stopping you from growing winter peas yourself?
This tasty pea is easy to grow and does well in colder weather. You can harvest the shoots and the flowers too.
Plus: with the help of our app and materials, it's almost impossible to fail 😉
Order your winter peas here or get started with a complete set:
Enjoy!