
Legumes
How to sow and grow butter beans
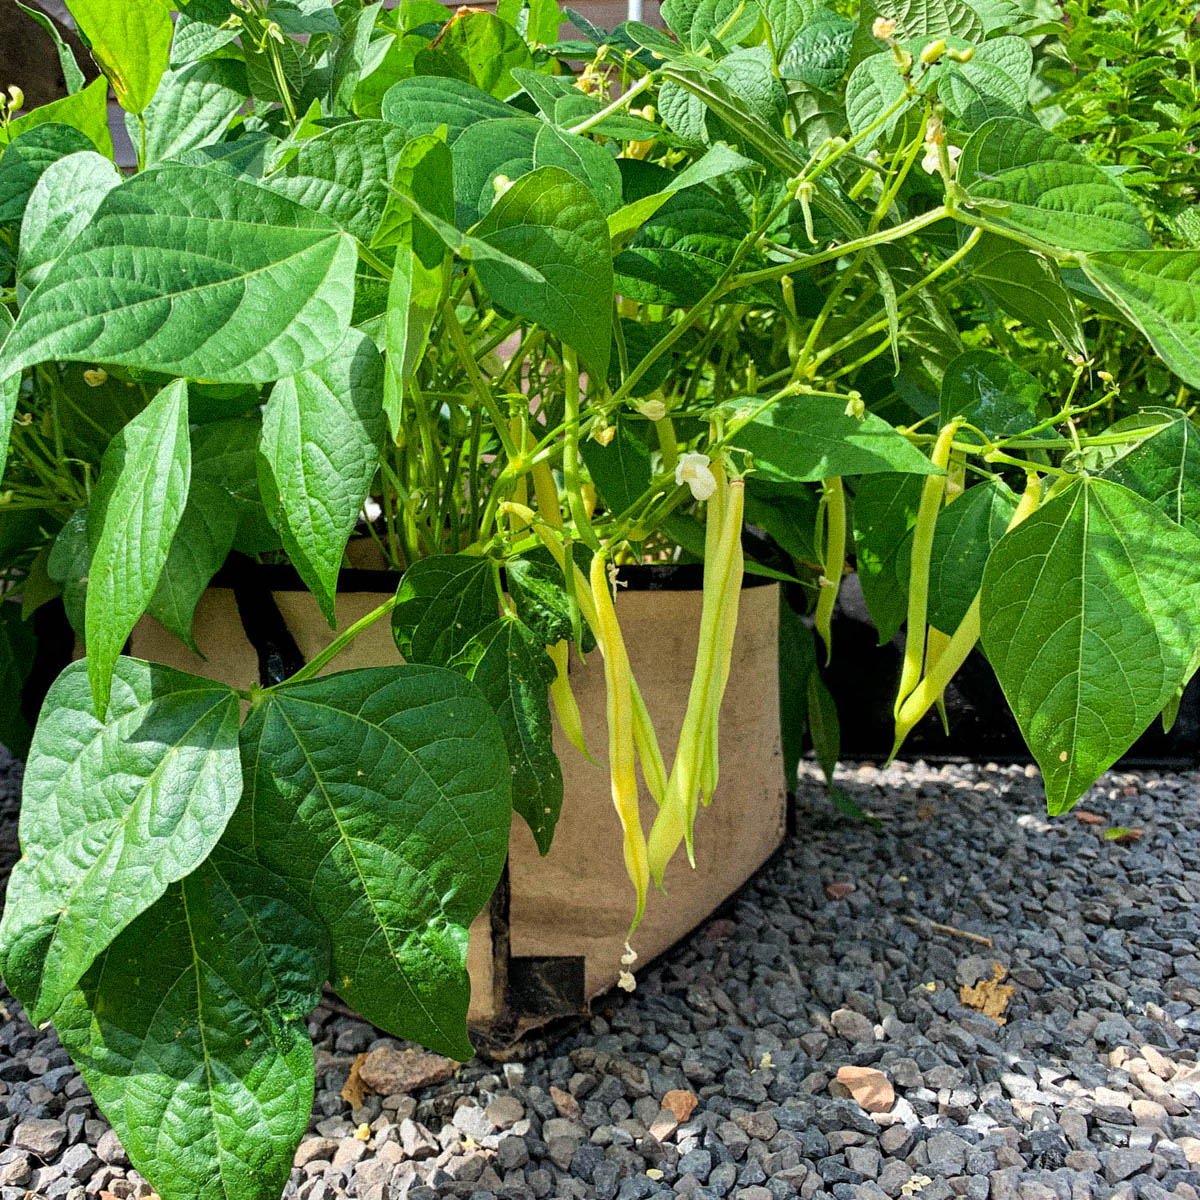
Our butter bean is a compact yellow bush bean that produces plenty of tender pods. Wax beans, also called butter beans, have a milder flavour than green beans.
What are butter beans?
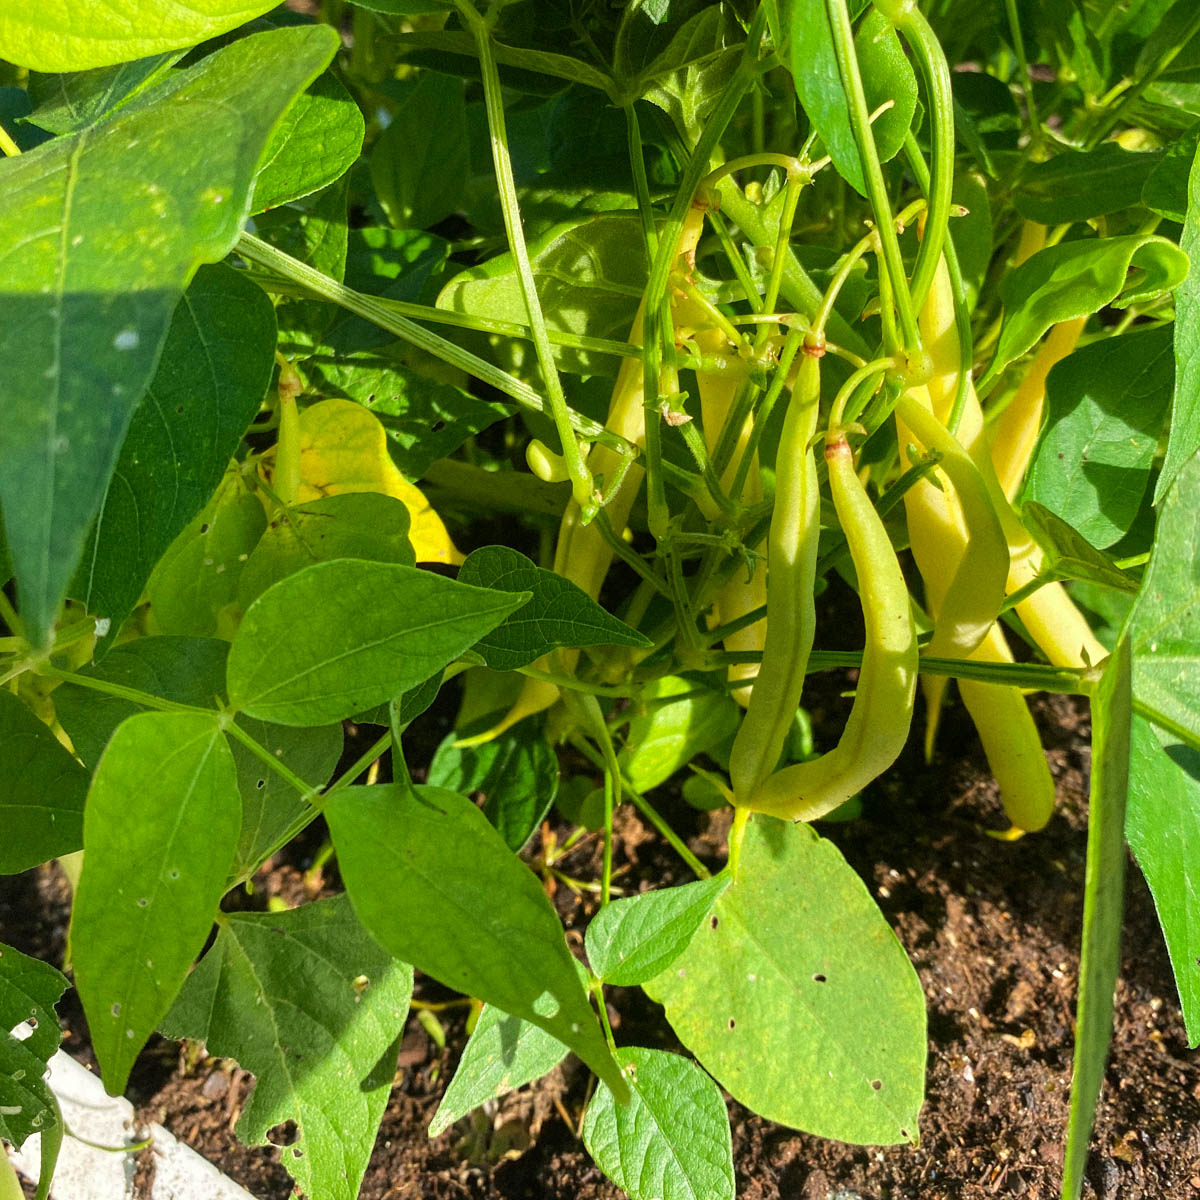
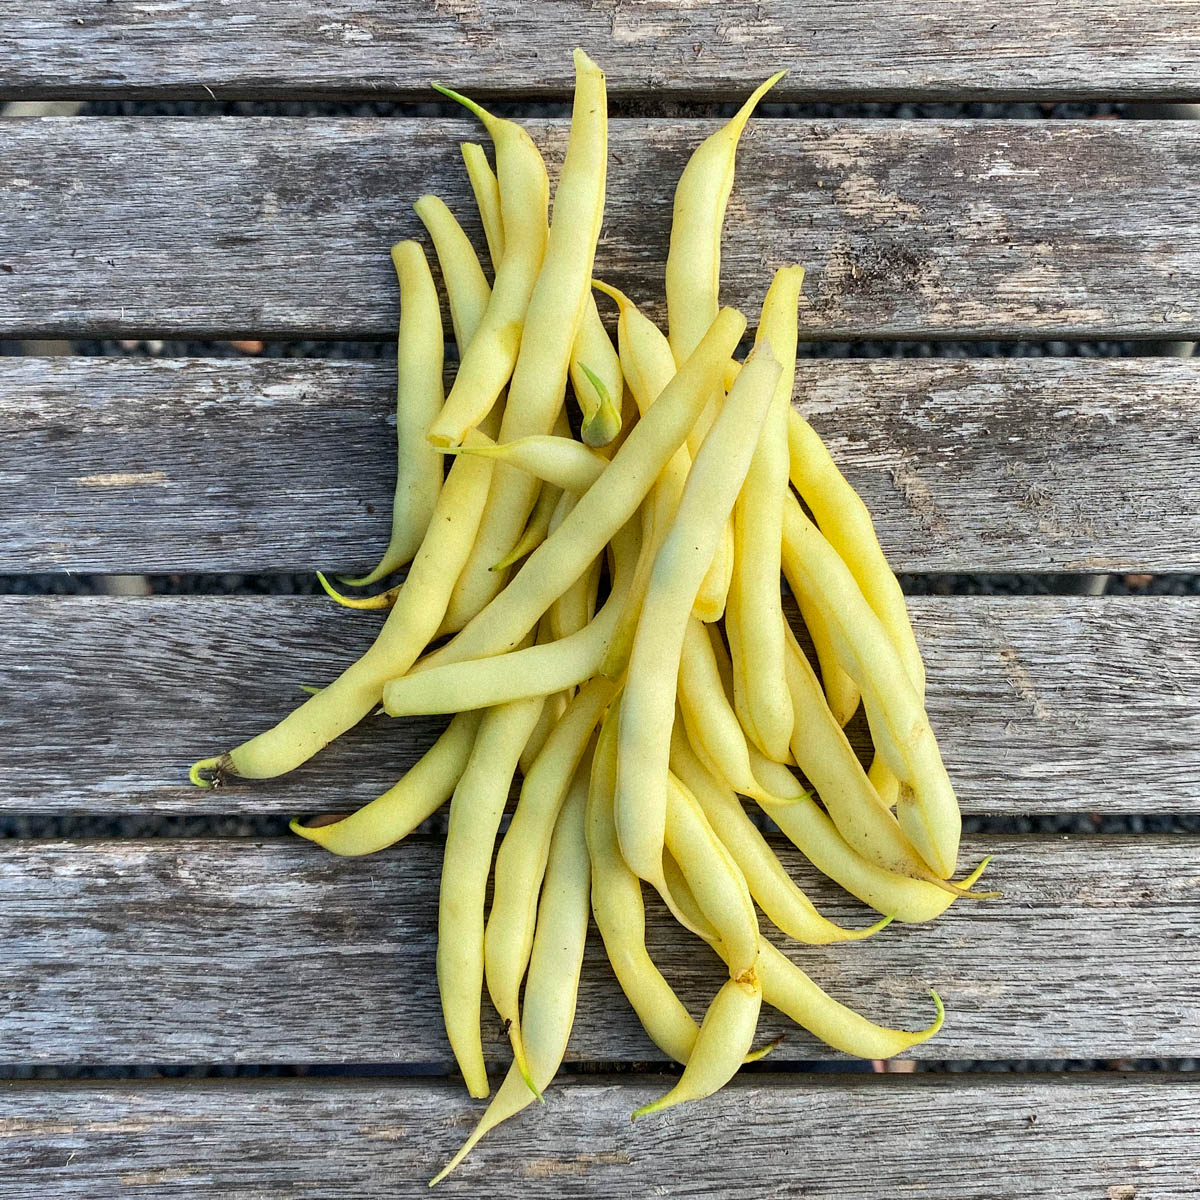
Butter beans, also called wax beans, are pale yellow green beans with a creamy, buttery flavour.
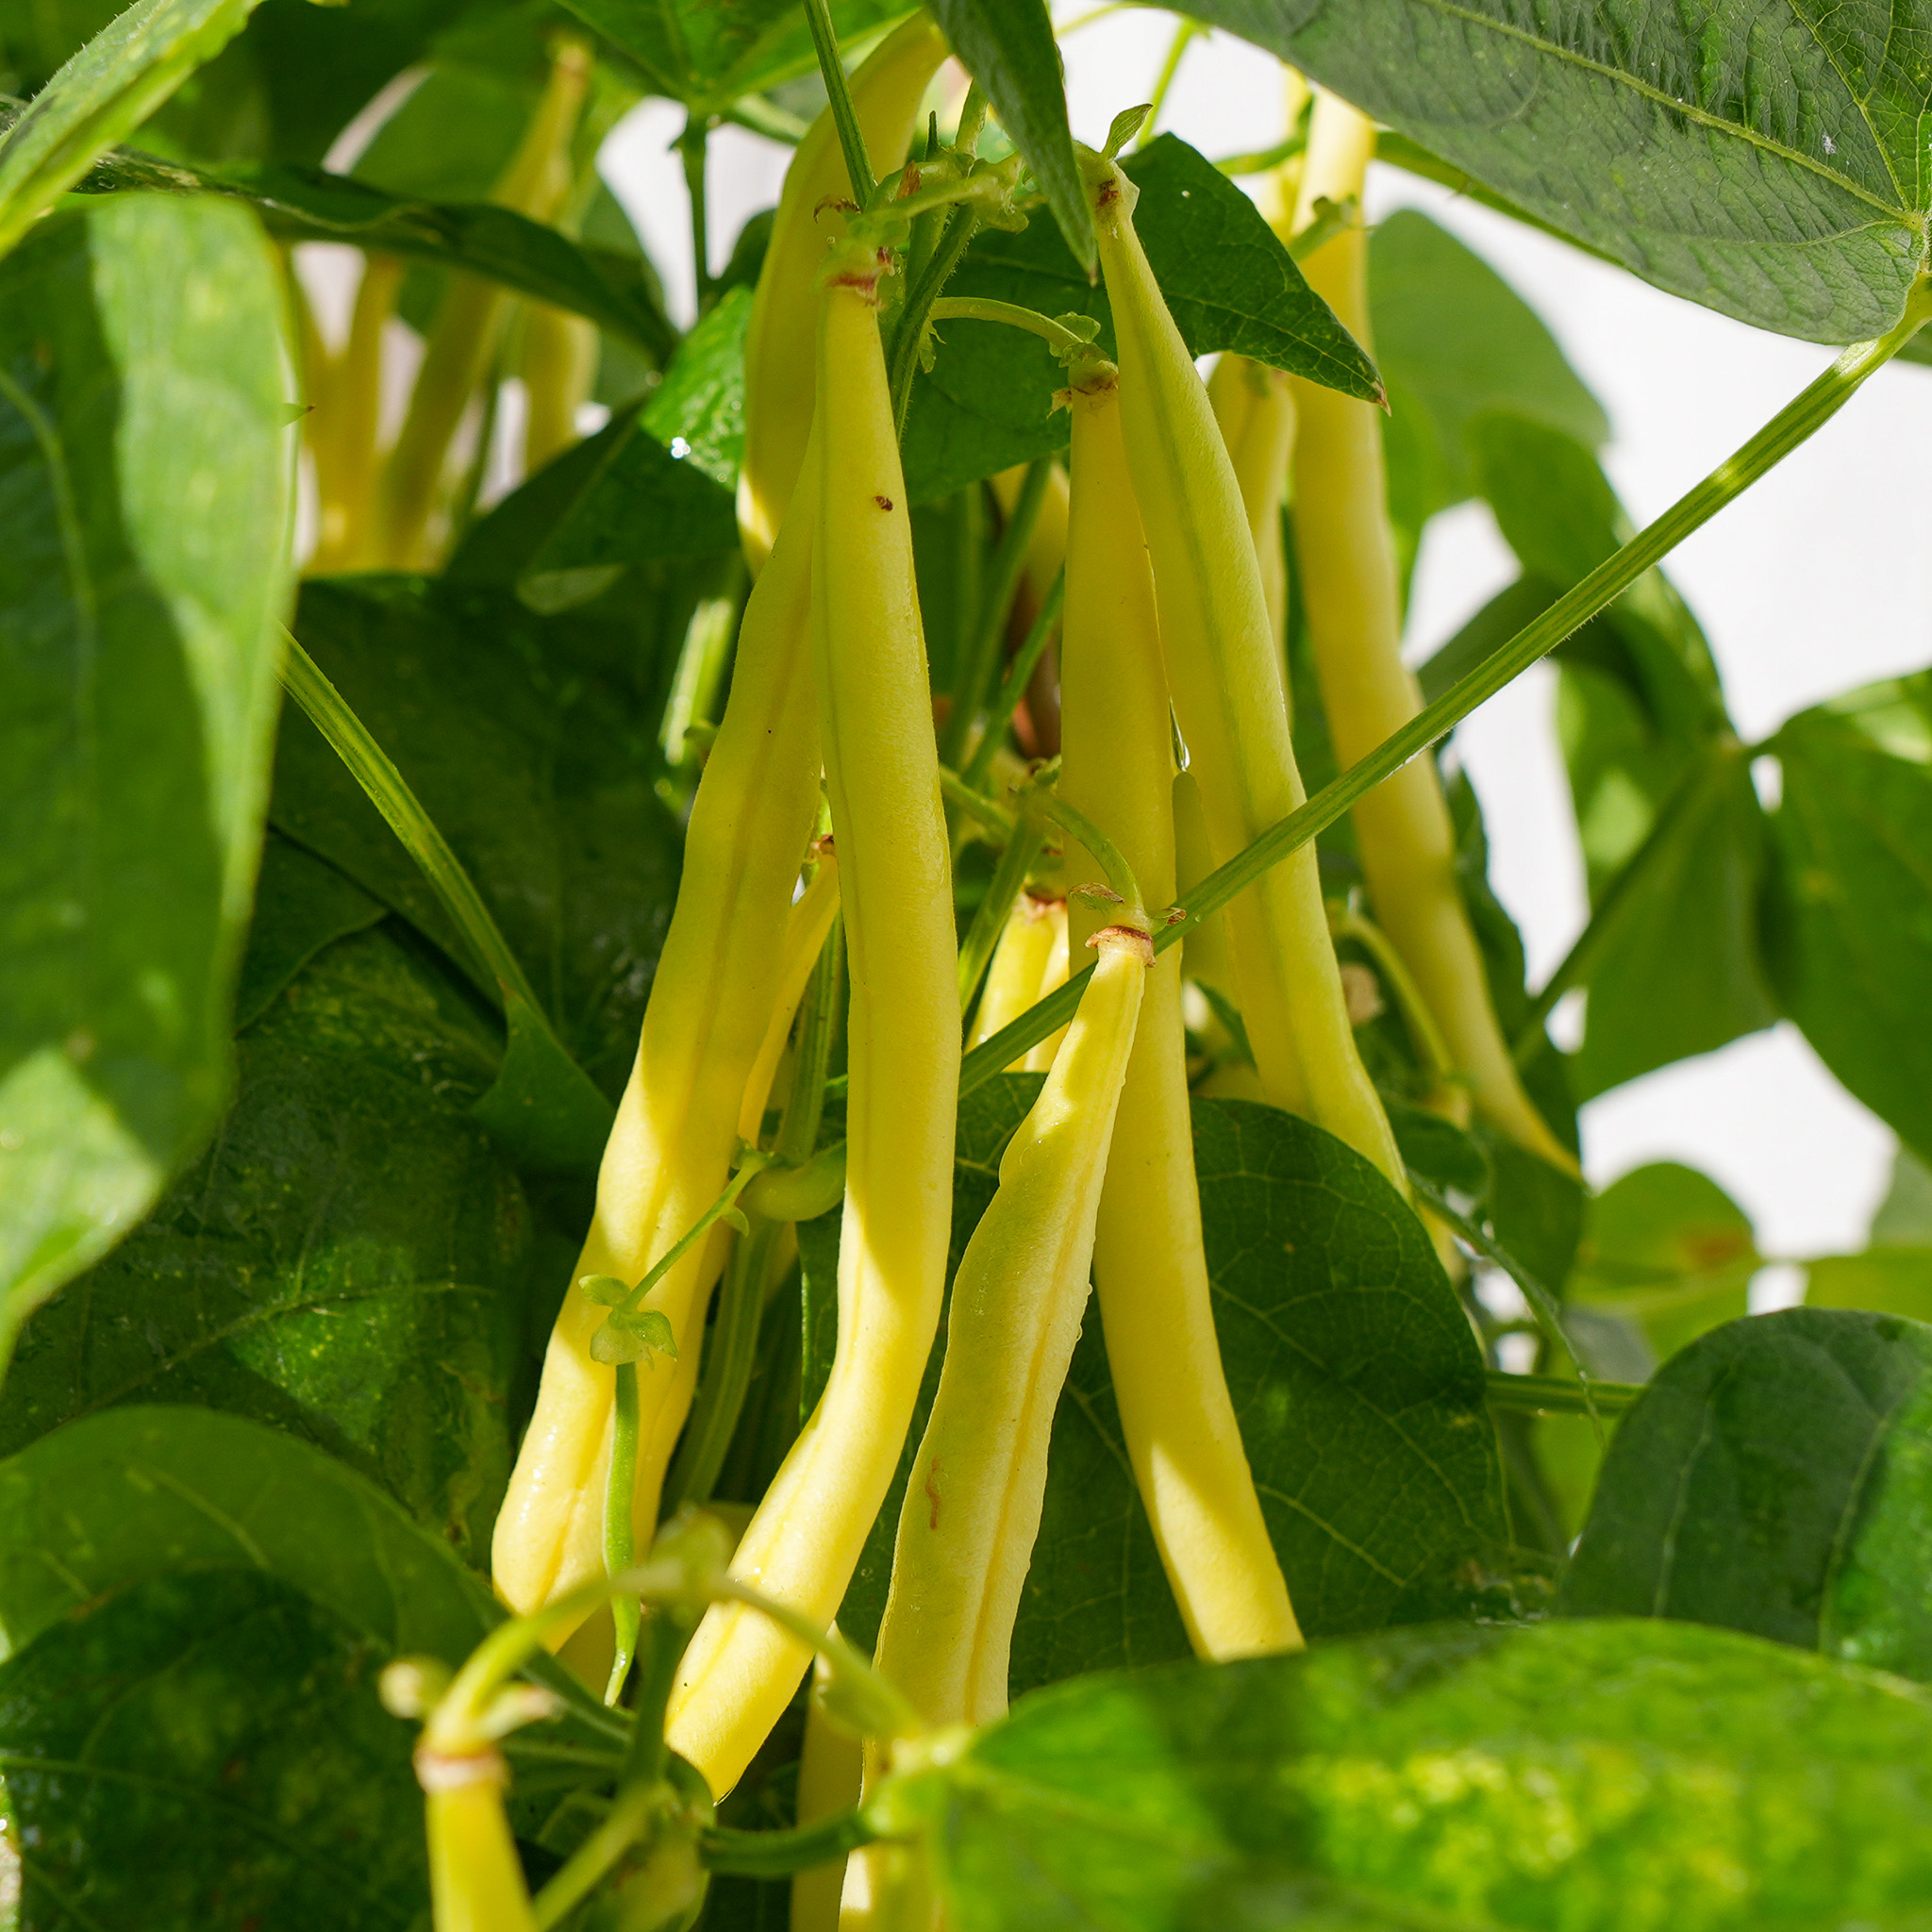
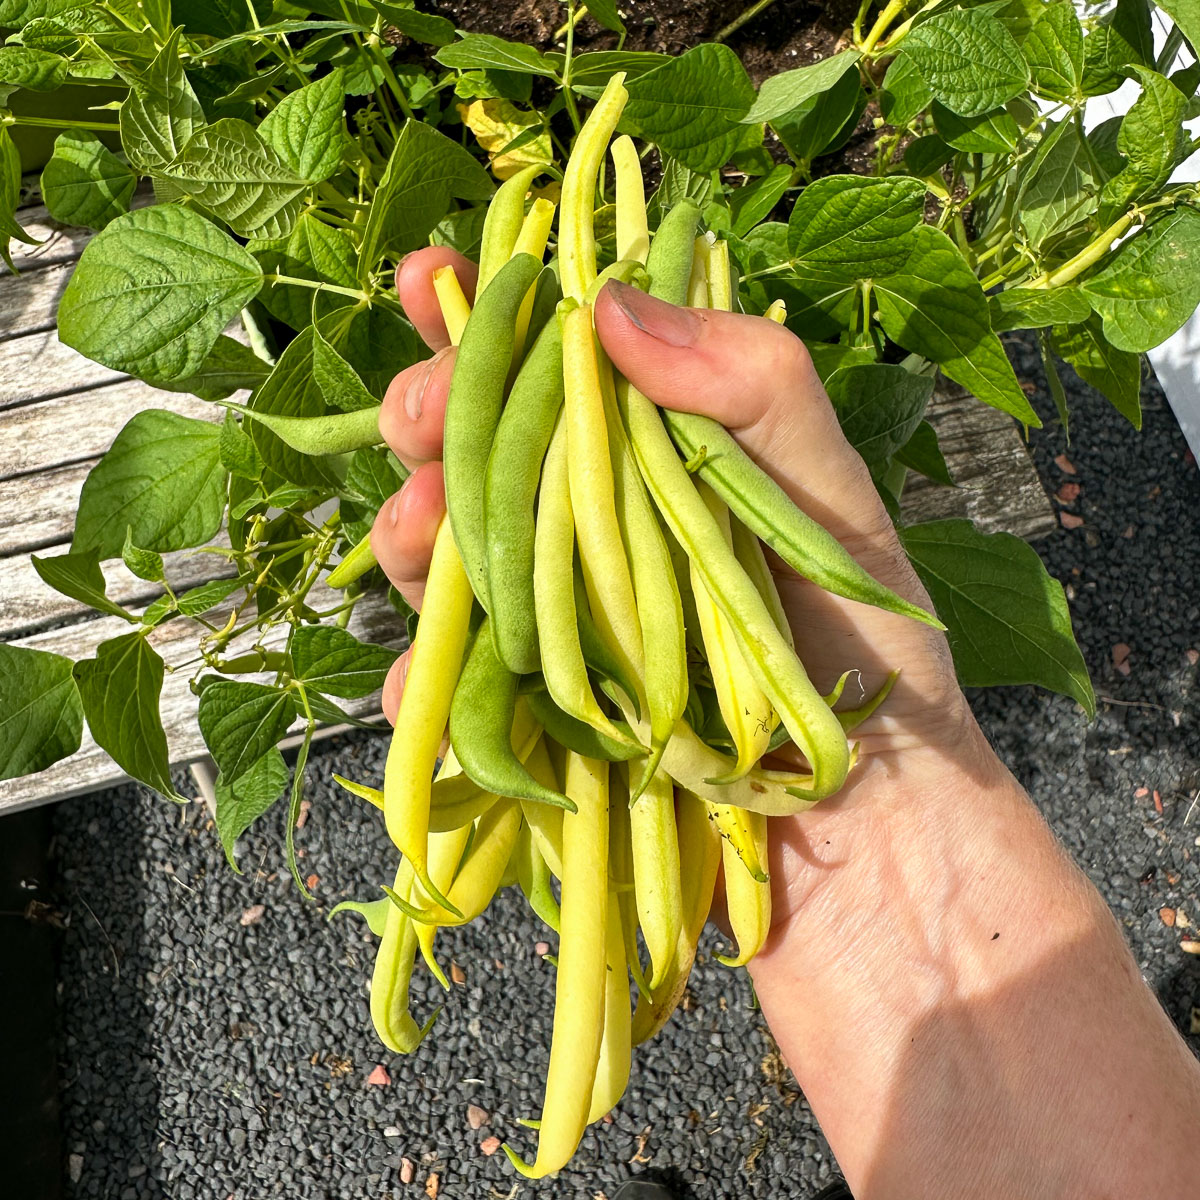
This variety produces plenty of tender, stringless beans in clusters of 4 to 5. They taste best when harvested at 13 to 14 cm long.
Wax or butter beans have a milder flavour than green beans, and many people prefer them.
They are more popular than green beans in France. You see them less often in the Netherlands, so you may need to grow your own. Fortunately, that is not difficult.
They are more popular than green beans in France. You see them less often in the Netherlands, so you may need to grow your own. Fortunately, that is not difficult.
More about our butter bean seeds
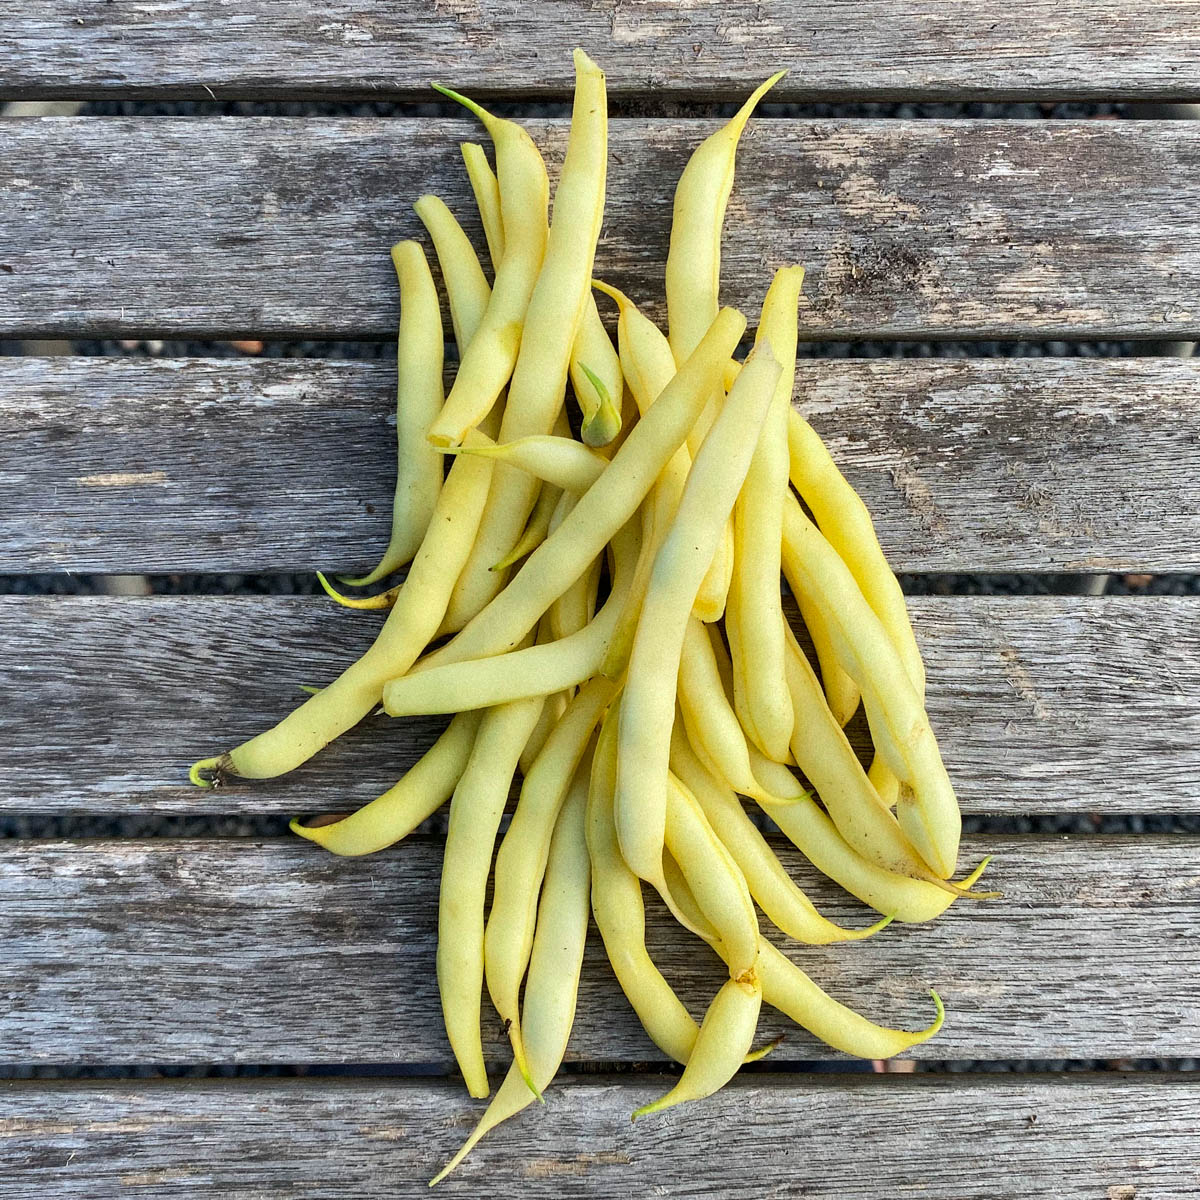
These yellow beans have a fantastic flavour. The compact bush bean produces many clusters of slender, stringless yellow beans measuring 13 to 14 cm. Their flavour is milder than that of green beans.
- Variety: Minidor
- Family: legumes
- Plants per square or MM-mini: 9
- Height: 40 to 50 cm or more
- Sowing time: May and June
- Sowing depth: 2 to 3 cm
- Germination: 7 to 10 days at 21°C
- Time to harvest: 8 to 9 weeks
- Sunlight: full sun
- Packet contents: approximately 70 seeds, enough for 7 squares
The plants are more compact and shorter than most bush beans, making them particularly suitable for growing in Makkelijke Moestuin raised beds or an MM-mini.
What do you need to grow butter beans?
In addition to the seeds, you will need the following to start them indoors:
- MM seed-starting mix or MM coconut seed-starting mix
- an MM-Airpot (the larger size)
- clear cling film (not needed with coconut mix)
Once most of the seedlings have emerged, you can plant them outside. You will need:
- one 30 × 30 cm square or an MM-mini
- Makkelijke Moestuinmix
- a spot that receives at least 8 hours of sunlight a day
- MM plant food
How do you sow and grow butter beans?
These butter beans are included in the free Makkelijke Moestuin app. The app guides you from seed to harvest.
Every vegetable passes through a series of stages, which we call levels.
The app tells you exactly what to do at each level and regularly asks you to check whether your plants are ready for the next one.
So you do not need to know how to grow them successfully before you begin. But if you would like to read ahead, you can do so below.
Level 1: Starting butter beans indoors
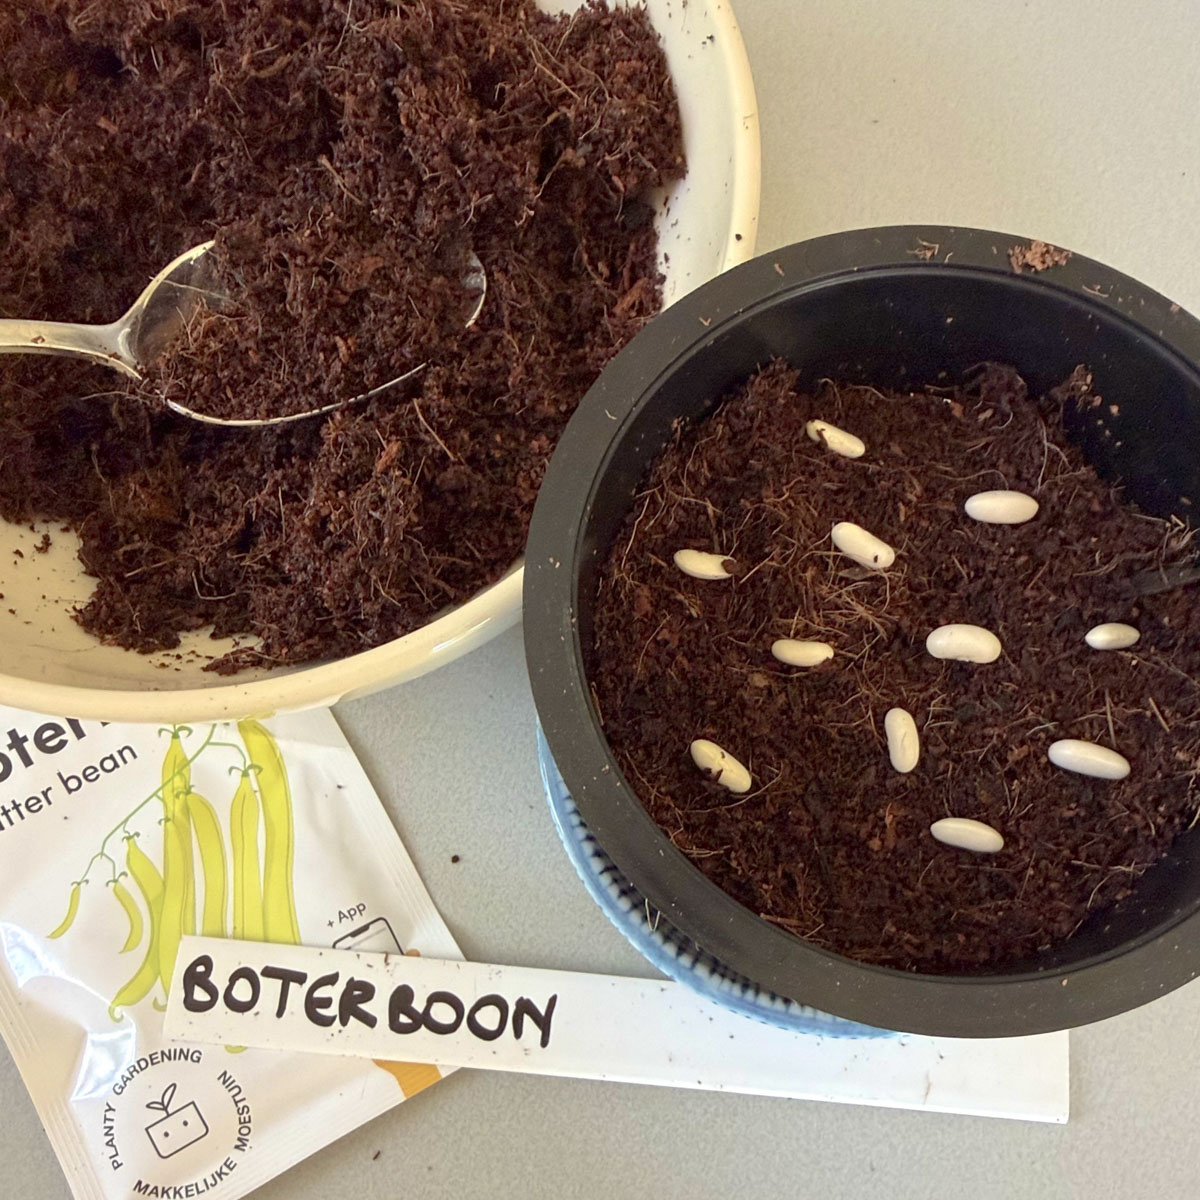
Beans need plenty of warmth to germinate. Even slightly cold or rainy weather can prevent them from emerging or make the seedlings very vulnerable. That is why you let them germinate indoors, in a pot of seed-starting mix at a depth of about 2 cm.
Level 2: Germinating beans
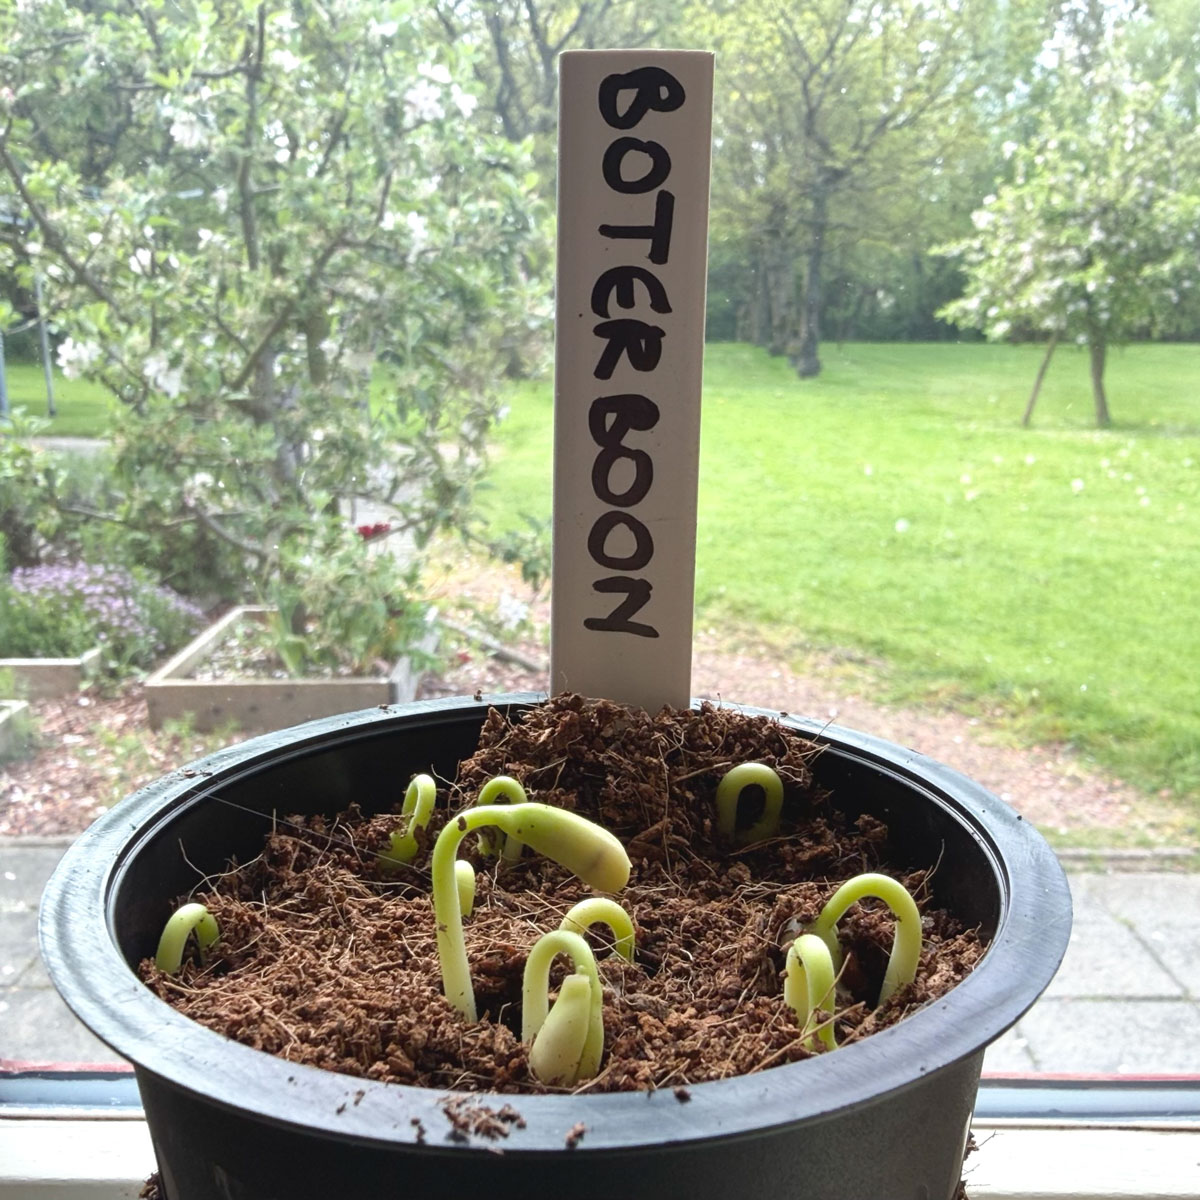
The first shoots will emerge after 4 to 7 days. As soon as they do, place the pot in full light.
A few days later, most of the seedlings should be visible.
A few days later, most of the seedlings should be visible.
Level 3: Planting butter bean seedlings
Once most of the seedlings are clearly visible, move them to an MM-mini or a square in your raised bed.
Here is how:
- make 9 generous holes in the square, 3 to 5 cm deep
- use a spoon to lift the seedlings from the pot
- plant 1 seedling in each hole
- carefully close the holes
Depending on the weather, the plants should be growing nicely after about 7 days.
If it is still very cold, cover them with a protective cover or some clear plastic containers. This helps them grow more quickly and protects them from birds.
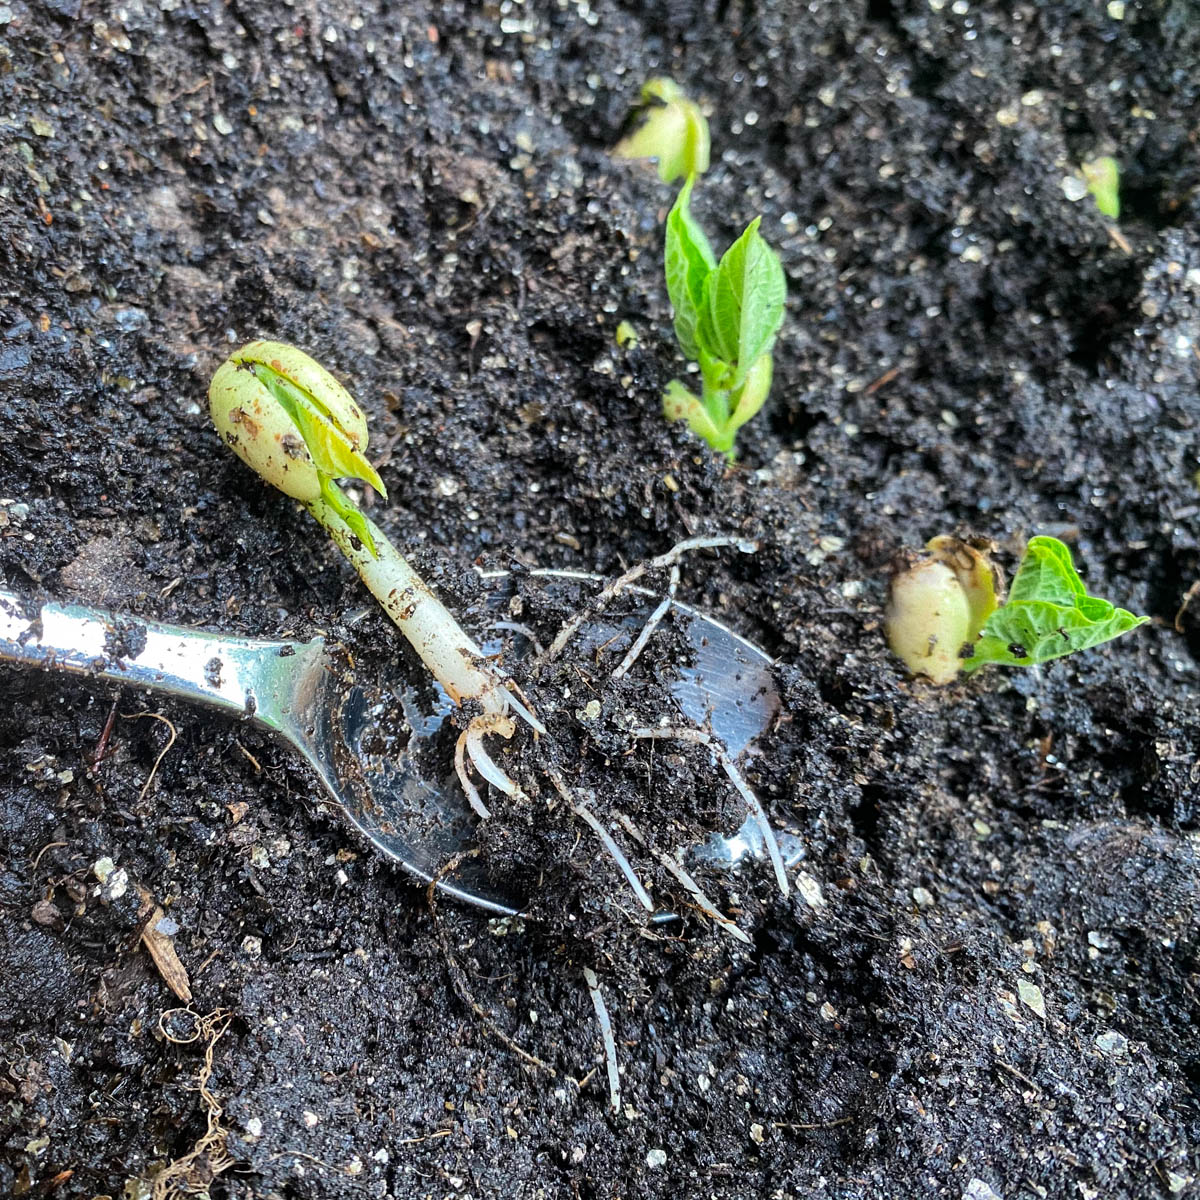
Level 4: Caring for your plants
After about two weeks, your seedlings will already have become small plants.
They will grow quickly over the following weeks, but you will have very little to do. Nice and easy.
They will grow quickly over the following weeks, but you will have very little to do. Nice and easy.
Level 5: Support your butter beans with a small frame
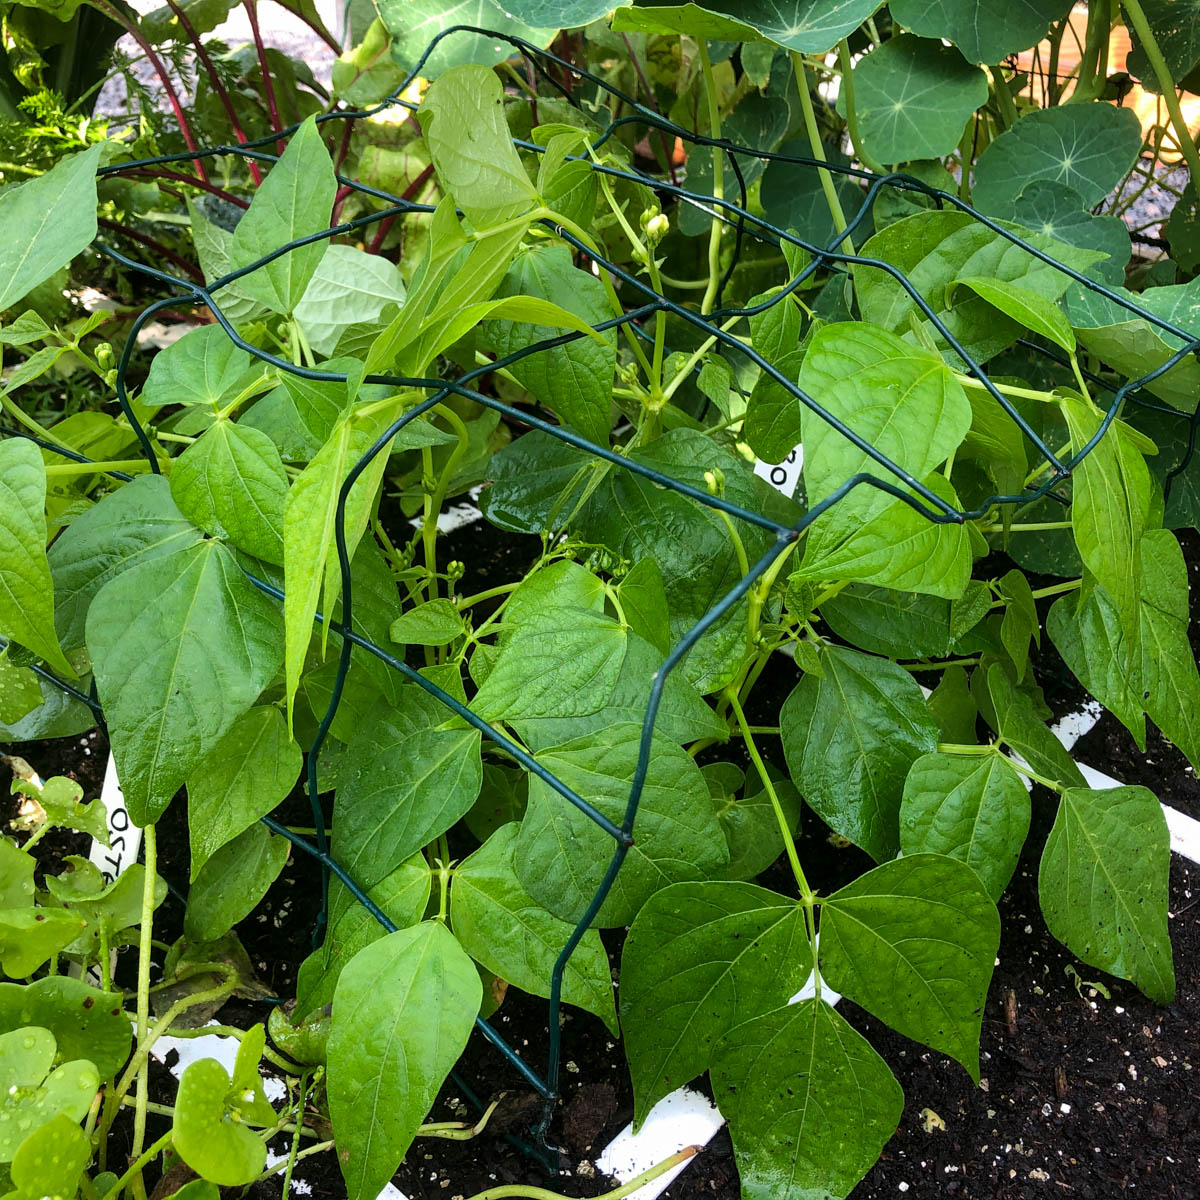
Place a small support frame over the plants to keep them neatly inside their square.
This is less important in an MM-mini, where it does not matter if the plants spread out to the sides.
Level 6: Flowering butter beans
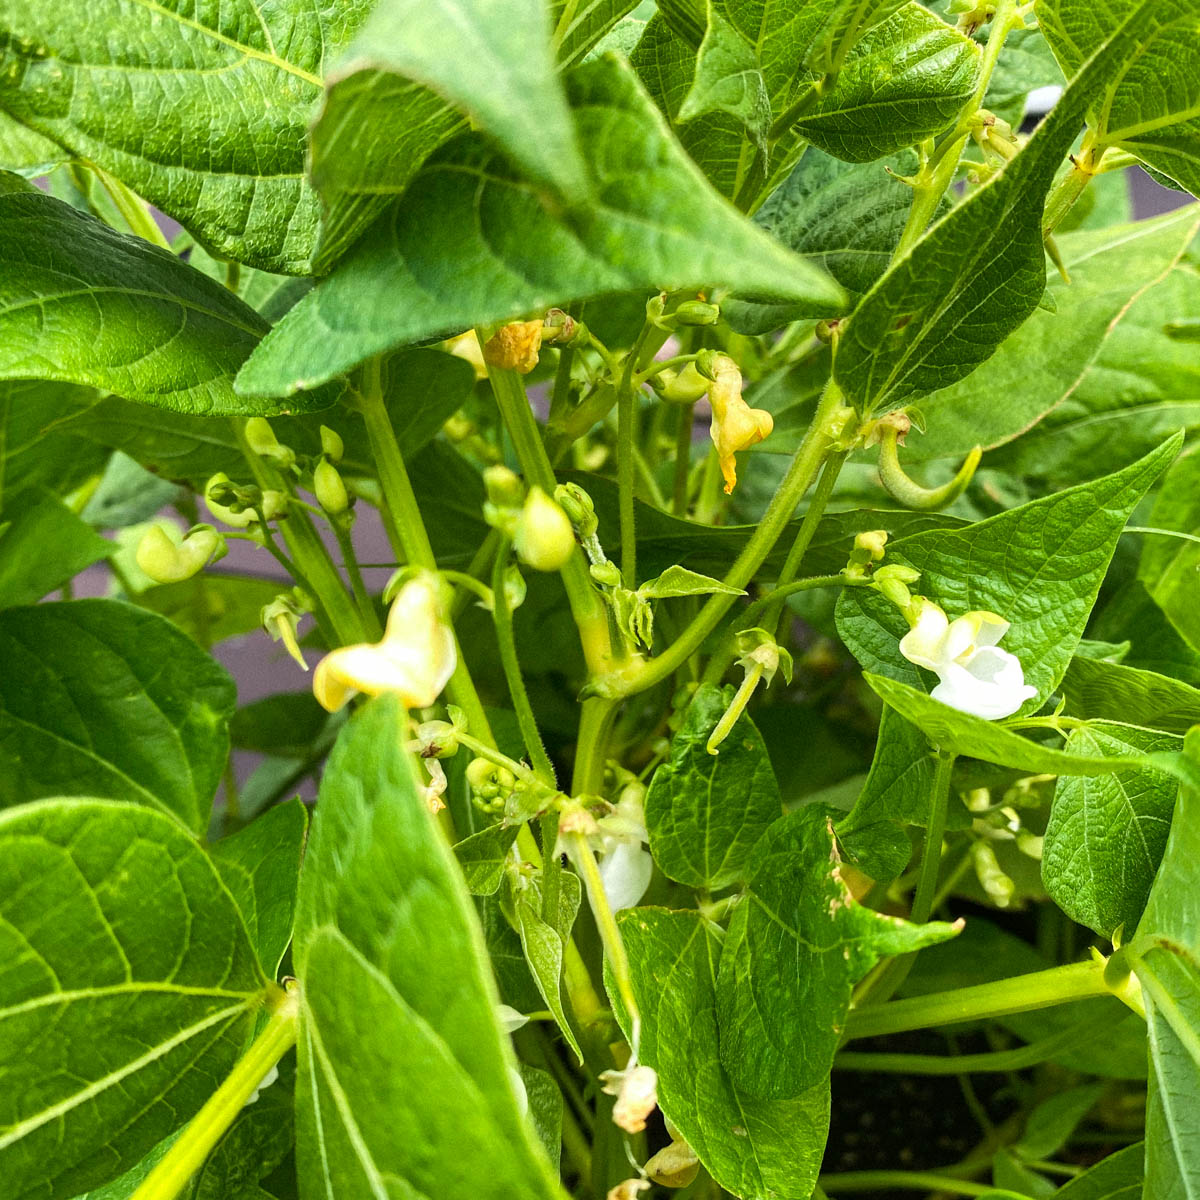
At this level, the plants begin to flower with small, pale yellow, butterfly-shaped flowers. These will develop into beans.
You may already see the first tiny beans appear.
Level 8: Harvesting the first butter beans
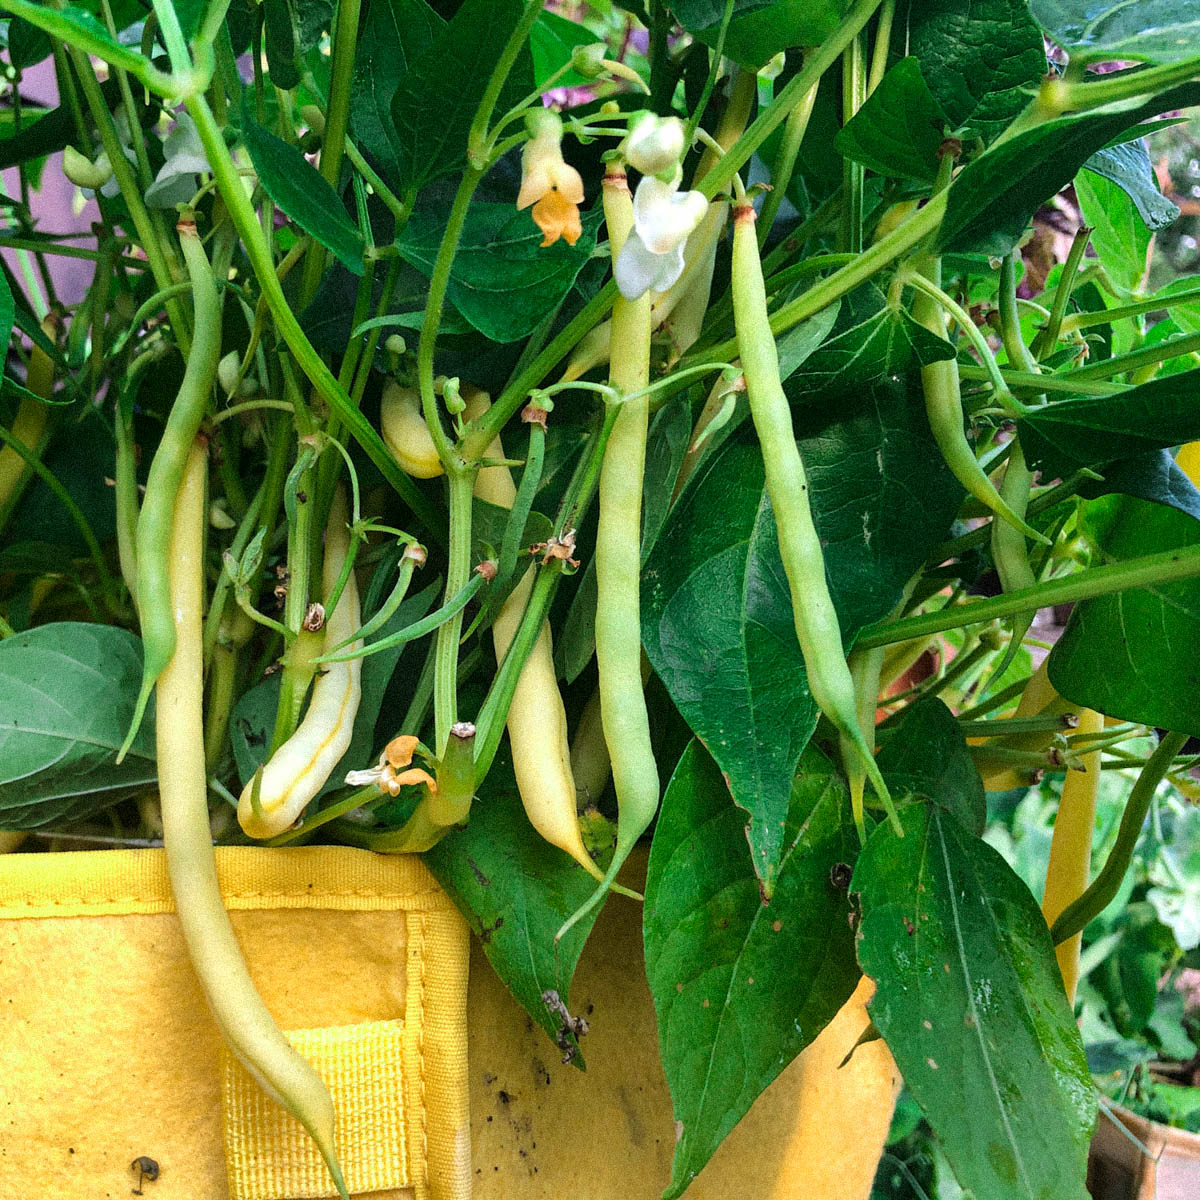
At this stage, about 8 to 9 weeks after sowing, you can harvest the first beans.
Harvesting them early encourages the plants to produce more flowers and therefore more butter beans.
It is perfectly normal for some leaves to turn yellow and look less attractive now, especially near the bottom of the plants.
How do you harvest and use butter beans?
Cut the beans from the plants when they are about 13 cm long and still slightly green. That is when they taste best. Cutting rather than pulling prevents damage to the plants.
Never eat butter beans raw; always cook them first. They are usually served warm, but you can also cool them quickly and add them to cold salads.
You can stir-fry them too, and you can even find recipes that use them in quiches or bread.

Are butter beans nutritious?
These fresh butter beans provide fibre and contain carotenoids and flavonoids. They are low in calories and make a colourful addition to meals.
Always cook the beans before eating them.
Always cook the beans before eating them.
The final levels
During the next level, keep harvesting the butter beans until they are finished and you no longer see any new flowers. This usually takes about 3 weeks.
You can harvest a large quantity of butter beans from a single square.
At the final level, empty the square or your MM-mini and prepare it for the next vegetable.
So, what is stopping you from growing butter beans?
They are a delicious vegetable to grow and a nutritious addition to a varied diet. Once the plants have established themselves, growing them is very straightforward.
And our materials and app give you plenty of help along the way.
Good luck!